.webp)

By Gear Experts
Table of Contents
Equipboard
Equipboard is the world's largest community of artists and their gear. Read our review process.
We are reader-supported. When you buy through links on our site, we may earn an affiliate commission. Learn more.
Building a home music studio is a dream for many musicians and producers. Whether you're a hobbyist looking to record a few tracks or a professional aiming to create high-quality music, the idea of setting up your own studio can be both exciting and daunting.
But where do you start?
What equipment do you need, and how can you optimize your space for the best sound quality?
In this guide, we’ll walk you through everything you need to know about planning, setting up, and optimizing your home music studio, so you can bring your creative vision to life.
Planning Your Home Music Studio
Before diving into the setup process, it’s crucial to assess your specific needs. Are you planning to record vocals, instruments, or podcasts? Will you be mixing tracks or producing electronic music? Defining your purpose will guide your decisions on equipment, space, and sound treatment.
For instance, a singer-songwriter may prioritize a high-quality microphone and vocal isolation, while a producer might focus on a powerful computer and studio monitors.
Choosing the Right Space
The room you choose for your studio can have a significant impact on the sound quality.
Ideally, select a room that’s isolated from external noise, such as a spare bedroom or basement. Avoid rooms with large windows or hard, reflective surfaces, as these can cause unwanted echoes. If possible, choose a room with dimensions that aren't perfect squares, as this can help reduce standing waves that distort sound.
Budget Considerations
Your budget will largely dictate the scope of your home studio. Start by allocating your budget to key items, such as your computer, audio interface, and microphones. Don’t forget to consider the cost of soundproofing and furniture, as these are crucial for both sound quality and comfort. Prioritize the most essential equipment and gradually upgrade as your needs evolve.
Essential Equipment for a Home Studio
Computer and Digital Audio Workstation (DAW)
A powerful computer is the heart of any home studio. Choose a machine with enough processing power and memory to handle your projects, especially if you’ll be working with multiple tracks or high-resolution audio files.
Along with the computer, you’ll need a DAW (Digital Audio Workstation), the software you’ll use to record, edit, and mix your music. Some popular DAWs include Ableton Live, Logic Pro, and Pro Tools. When choosing a DAW, consider your level of experience and the type of music you’ll be making. We've published an in-depth guide to the best DAWs to help you choose the right option for you.
Audio Interface
An audio interface is the bridge between your computer and the rest of your gear. It allows you to connect microphones, instruments, and other audio equipment to your computer. Look for an interface that offers high-quality preamps, enough inputs and outputs for your needs, and low-latency performance. Brands like Focusrite and Universal Audio offer great options for all budgets. Read more in our full guide to audio interfaces.
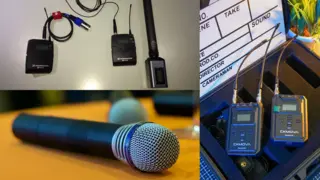
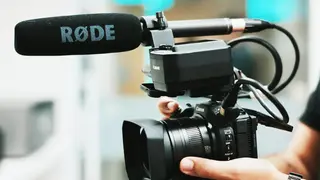
Microphones
Your microphone choice will depend on what you’re recording. For vocals, a condenser microphone like the Audio-Technica AT2020 is a great starting point. If you’re recording instruments, you may want to invest in a dynamic microphone, such as the Shure SM57, which is versatile and durable. If budget allows, consider getting a couple of different types to handle various recording scenarios.
Studio Monitors and Headphones
Accurate sound monitoring is essential for producing professional-quality music. Invest in a pair of studio monitors that deliver a flat, uncolored sound, so you can make precise mixing decisions. Read our comprehensive guide to studio monitors to go deeper on the subject. Brands like Yamaha and KRK offer solid choices for home studios. Additionally, a pair of high-quality headphones is important for tracking and late-night sessions where loud playback isn't an option. Our guide to the best studio headphones presents what factors your should consider and gives some great options at different price points.
Other Must-Have Gear
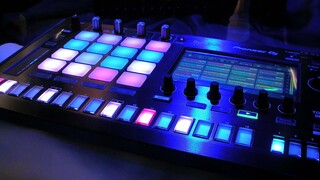
Additional equipment like MIDI controllers, external hard drives, and mic stands can greatly enhance your studio. A MIDI controller will allow you to input melodies and beats directly into your DAW, while an external hard drive ensures you have plenty of storage for your projects. Mic stands and pop filters are small but essential items for getting clean, professional-sounding recordings.
Soundproofing and Acoustic Treatment
Soundproofing helps you control the noise that enters and exits your studio, ensuring a clean recording environment and preventing disturbances to neighbors or housemates. Additionally, it improves sound clarity by minimizing reflections and outside interference, leading to better recordings and mixes.
DIY Soundproofing Tips
You don’t need to spend a fortune to soundproof your home studio. DIY solutions such as adding thick rugs, heavy curtains, and foam panels can be quite effective. You can also seal gaps in doors and windows with weatherstripping to prevent sound leakage. Blankets or acoustic foam panels placed strategically on walls can help reduce reflections and echoes.
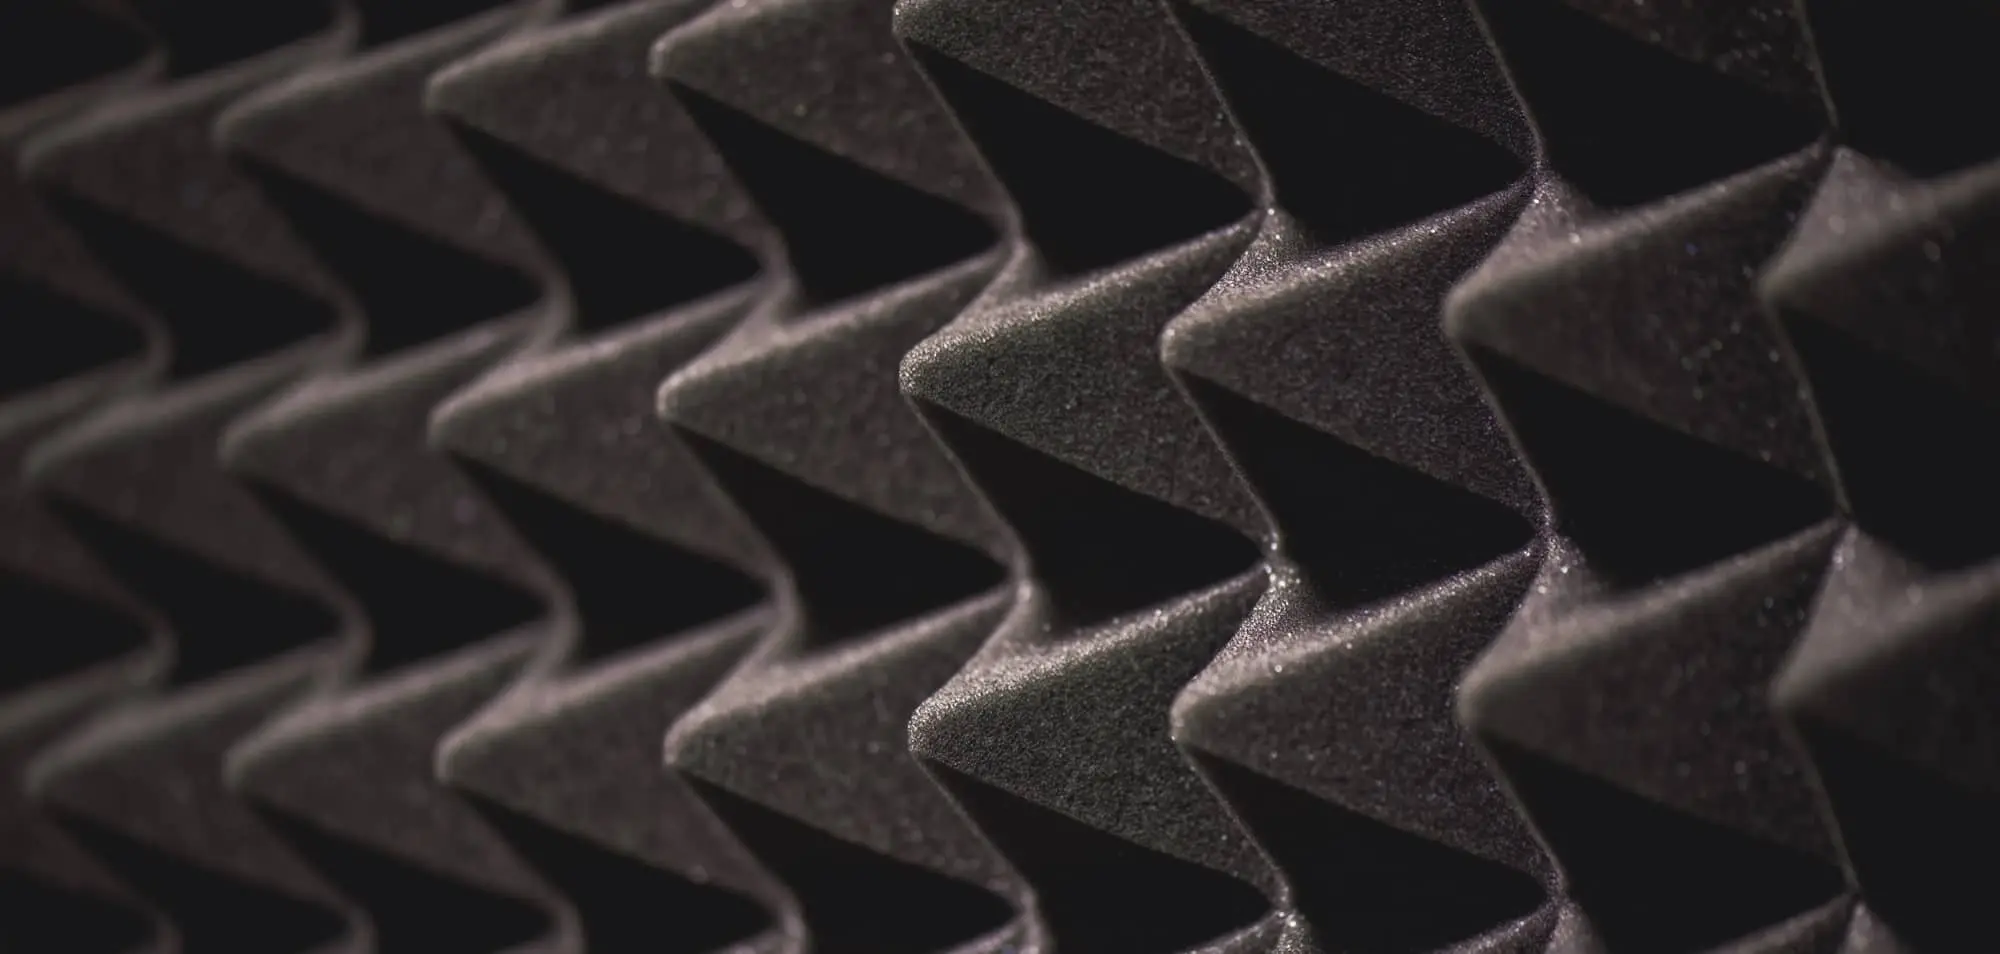
Acoustic Treatment
While soundproofing keeps sound in and unwanted noise out, acoustic treatment is about improving the sound quality within your studio. Acoustic panels, bass traps, and diffusers are commonly used to reduce unwanted reverberations and achieve a more balanced sound. Avoid the common mistake of over-treating your room, which can make it sound too "dead." Instead, aim for a balance that allows for some natural room sound without excess reverb.
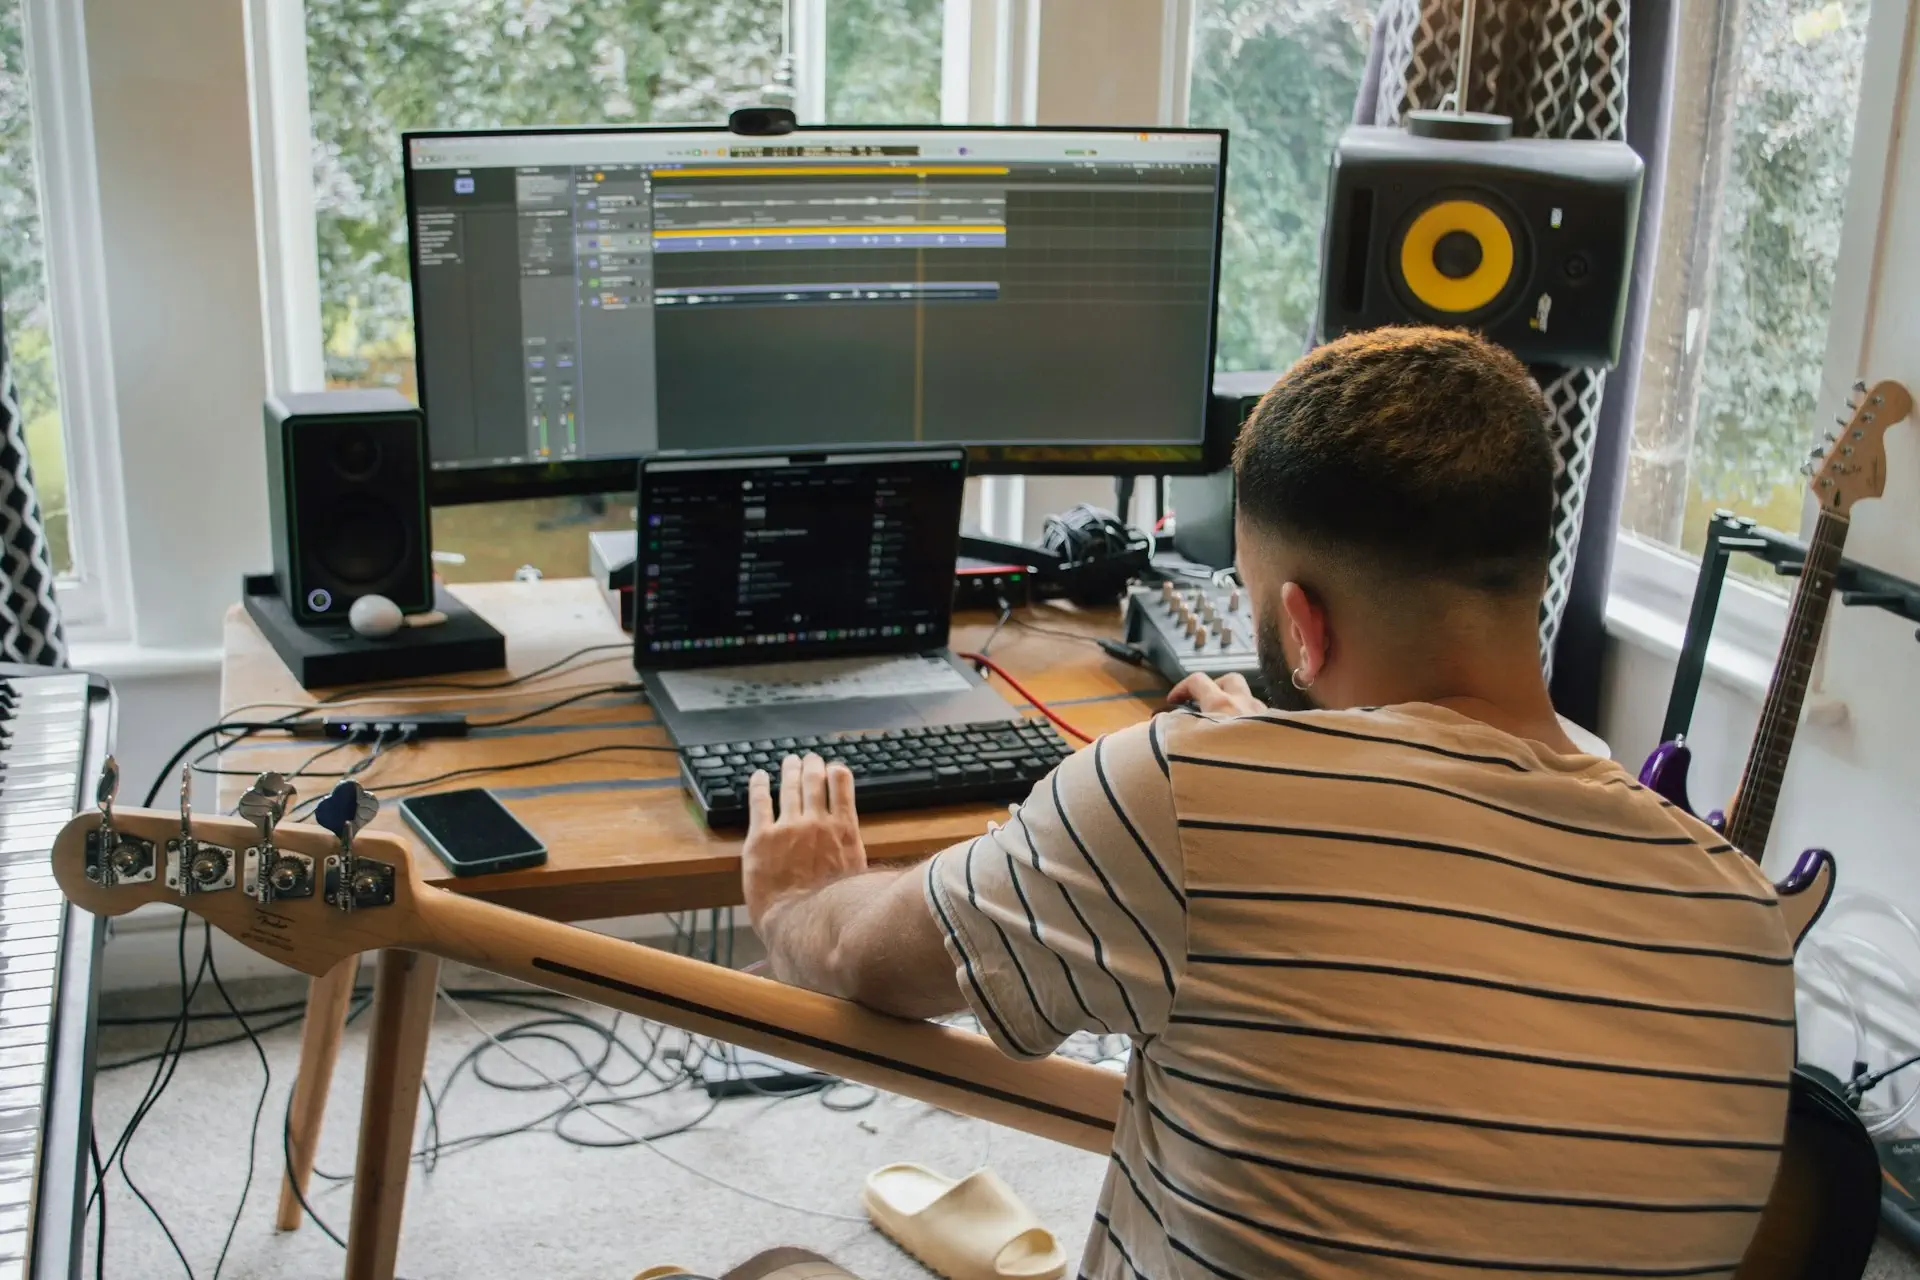
Setting Up Your Home Studio
The layout of your studio should prioritize workflow efficiency. Place your desk and monitors against a shorter wall, facing lengthwise down the room. This reduces reflections from the side walls and creates a more accurate listening environment. Arrange your gear so that everything is within arm’s reach to avoid breaking your creative flow.
Good cable management is essential for both aesthetics and functionality. Use Velcro ties, cable sleeves, and clips to keep cables organized and off the floor. This not only makes your studio look neat but also prevents tripping hazards and interference from tangled cables.
Comfort is key when spending long hours in your studio. Invest in ergonomic furniture, including a comfortable chair and an adjustable desk. Proper lighting is also important—natural light is ideal, but if that’s not an option, consider installing soft, ambient lighting. Adding some personal touches, such as artwork or plants, can make the space feel more inviting and inspiring.
Recording Techniques and Workflow Tips

To capture the best sound, always position microphones correctly and adjust levels to avoid clipping. For vocals, place the microphone at mouth height and use a pop filter to reduce plosive sounds. When recording instruments, experiment with mic placement to find the sweet spot that captures the full tone of the instrument.
Efficiency is key in a home studio. Set up templates in your DAW with pre-configured tracks and effects to speed up the recording process. Organize your sessions with color-coded tracks and descriptive names, making it easy to find what you need during mixing.
Remote collaboration tools, such as cloud storage and audio-sharing platforms like Splice or Soundation, allow you to work with other musicians or producers from anywhere in the world. These platforms make it easy to share files and even collaborate in real time.
Future-Proofing Your Studio
As your skills progress, so should your gear. Invest in equipment that can grow with your needs, such as interfaces with expandable inputs or studio monitors that can handle a broader frequency range. Avoid buying gear that’s too specialized or difficult to upgrade.
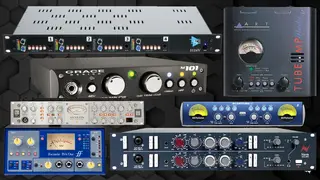
Once you’ve mastered the basics, consider integrating analog gear, hardware synths, or outboard effects to expand your creative options. Analog gear adds warmth and character to recordings that digital equipment may lack.
Keep your studio layout adaptable to accommodate future changes. Modular furniture and mobile equipment racks allow you to reconfigure your space as your needs evolve, ensuring your studio remains functional and scalable.
Budget-Friendly Tips and Alternatives
There’s no need to buy the most expensive gear right away. Start with essential, budget-friendly equipment and gradually upgrade as you develop your skills. Many successful producers started with minimal setups before investing in more advanced gear.
Building your own acoustic panels, using free or low-cost software, and repurposing household items for soundproofing are all great ways to save money. These DIY projects can reduce costs without sacrificing quality.
When making purchases, focus on gear that offers the best value for money. Research and read reviews before buying, and keep an eye out for sales or used equipment to stretch your budget further.
Final Thoughts
Building a home music studio doesn’t have to be overwhelming. By carefully planning your space, investing in essential equipment, and optimizing your workflow, you can create a professional setup that meets your needs. Whether you're just starting or looking to upgrade, take action today and begin crafting your creative space. Ready to get started?
About the authors
Juan Spinelli is a multi-instrumentalist musician, but more of a guitarist than anything else. Based in Buenos Aires, Argentina, he started playing at a very early age and learned various instruments such as flute, clarinet, percussion, didjeridoo, cavaquinho, bass and more. Today, he also works as a music producer and sound engineer, collaborating in several projects in his city and with artists from all over the world. Read more