Table of Contents
Equipboard
Equipboard is the world's largest community of artists and their gear. Read our review process.
We are reader-supported. When you buy through links on our site, we may earn an affiliate commission. Learn more.
You plug straight into your amp and your tone sparkles. Add five pedals to the chain, and suddenly your guitar sounds like it's wrapped in a blanket. What happened to all that beautiful high-end clarity? Welcome to the world of tone suck, where your carefully designed and put together pedalboard becomes an accidental tone thief. This isn't some mystical curse that only affects certain players. It's basic electrical engineering at work, and once you understand what's happening, you can fix it.
We're going to talk about impedance, capacitance, buffers, and true bypass in detail so you can make informed decisions about your signal chain.
Impedance 101: How It Kills Your Tone
Before we dive into the technical stuff, let's start with the basics. Impedance is simply electrical resistance, but think of it like water pressure in your plumbing. Capacitance is like a tiny dam that blocks the high frequencies that make your guitar sound crisp and clear.
When you understand these two concepts, everything else about tone loss starts making perfect sense. Your guitar pickup is like a delicate whisper that needs to travel through a long hallway (your pedalboard) to reach your amplifier's ears. Every cable, every connection, every pedal along the way either helps that whisper stay clear or makes it harder to hear.
What Impedance Actually Means
Imagine you're trying to push water through a garden hose. A narrow hose creates high resistance (high impedance), while a wide hose offers low resistance (low impedance). Your guitar pickup creates a high-impedance signal, which is like trying to push a small amount of water through a narrow tube. It work fine over short lengths but can run into problems as the length increases or the tube gets narrower.
This high-impedance signal from your pickup is actually quite weak and delicate. It carries all the nuances of your playing, from the bright attack of a fresh pick to the subtle harmonics that make your guitar sound musical rather than mechanical. But because it's weak, it's easily affected by everything it encounters on its journey to your amp.
The High-Z vs Low-Z Reality
When you connect a high-impedance source, like the one from a guitar pickup, to a high-impedance input (like most guitar pedals and amps), the signal transfers efficiently.
The problem starts when you add cable capacitance to the equation.
Capacitance: The Silent Tone Killer
Let's talk about capacitance in depth, which is the real villain in most tone loss stories. Think of capacitance like a tiny sponge that sits in your cables and soaks up specific frequencies. Unfortunately, it has a particular appetite for the high frequencies that give your guitar its sparkle and definition.
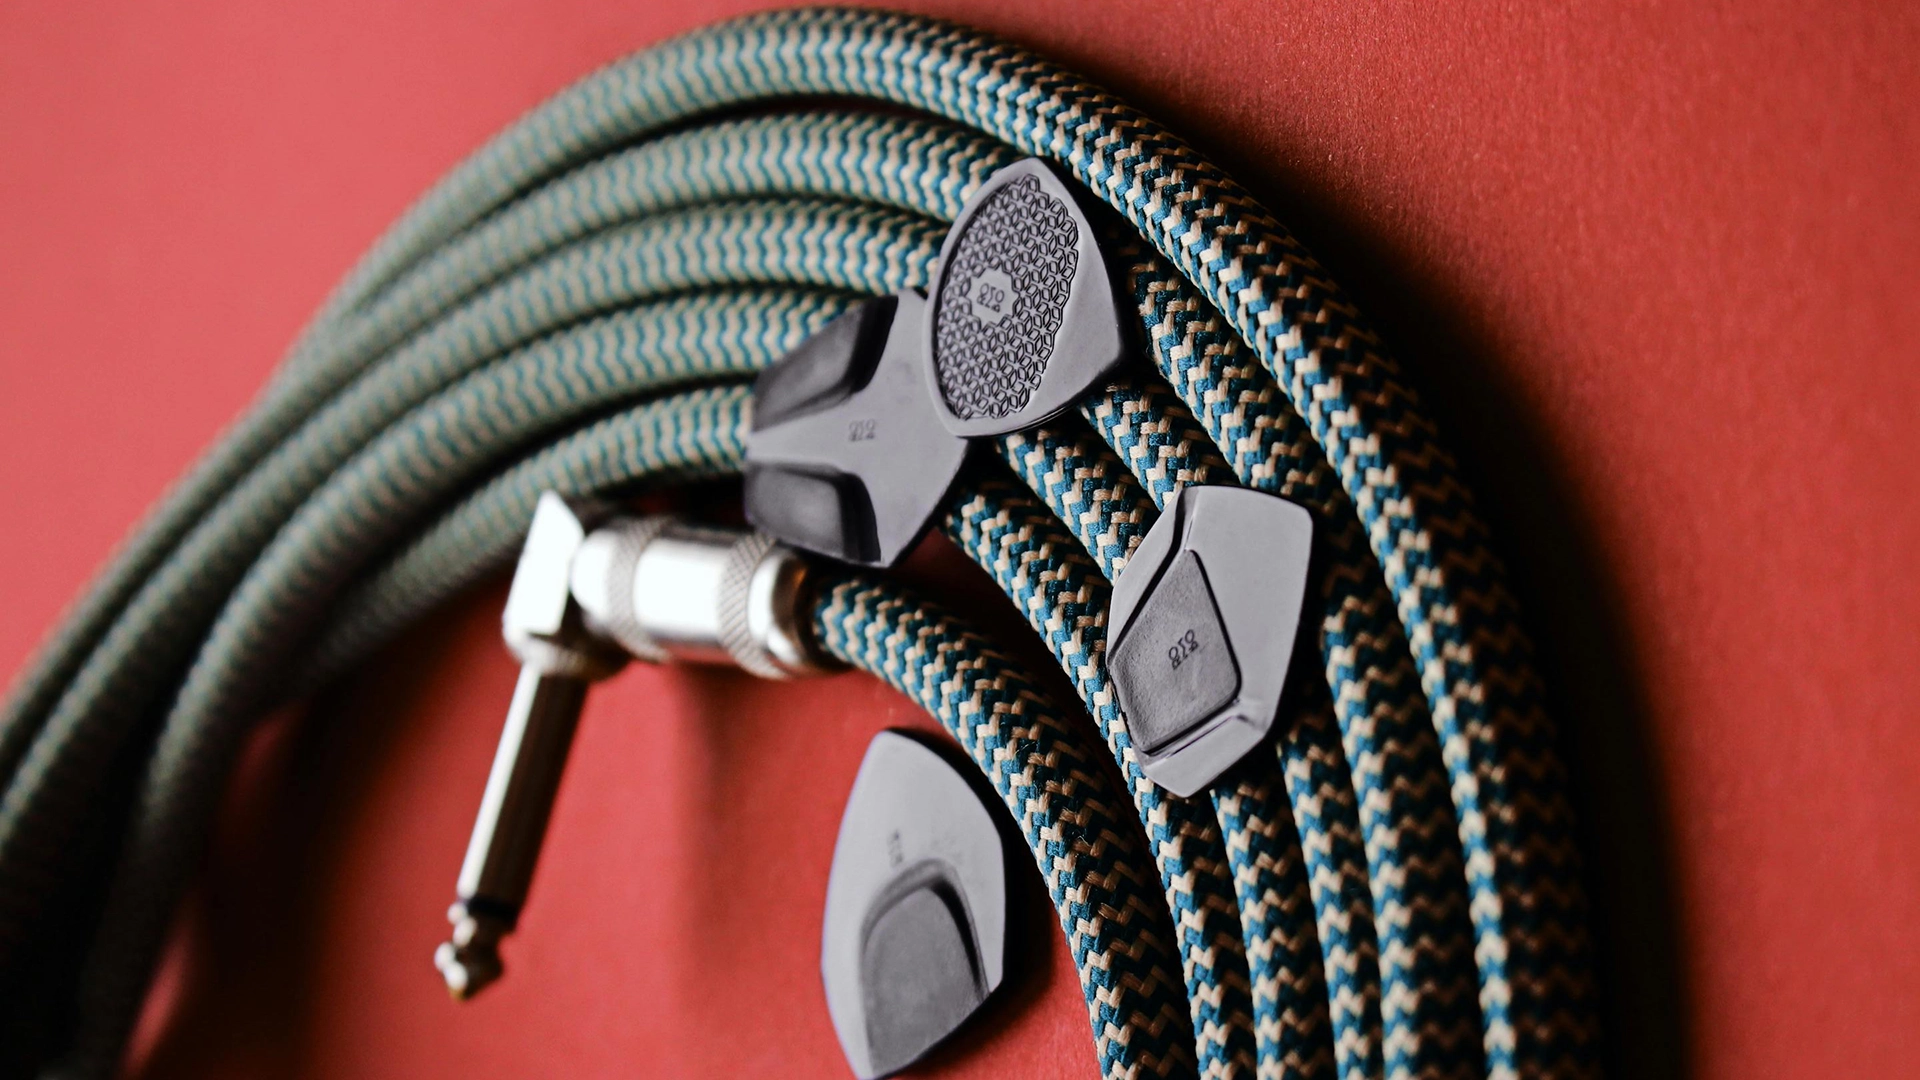
Every cable acts like a tiny capacitor (that's where the name comes from), and capacitors naturally filter out high frequencies. It's not something cable manufacturers do on purpose, it's just the physics of how electrical signals travel through wire. The longer your cables and the more connections you make, the more of these tiny frequency sponges you're adding to your signal path.
Here's the frustrating part: capacitance doesn't affect all frequencies equally. It specifically targets the high frequencies that make your guitar sound alive and present in a mix. A typical guitar cable has about 30-50 picofarads of capacitance per foot. That might sound insignificant, but when you're running 20 feet of cable through multiple pedals, you're looking at serious high-frequency loss.
The mathematics behind this involves something called the RC time constant, but the practical result is simple: more cable and connections equals less high-end clarity.
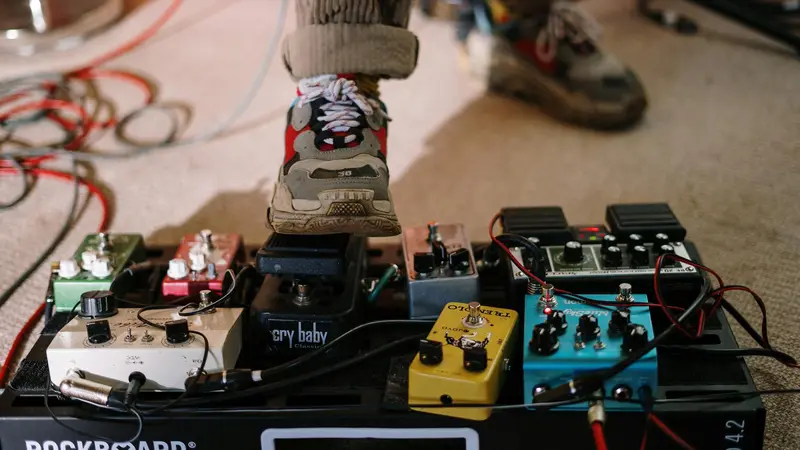
Why Your Pedalboard Becomes a Tone Vampire
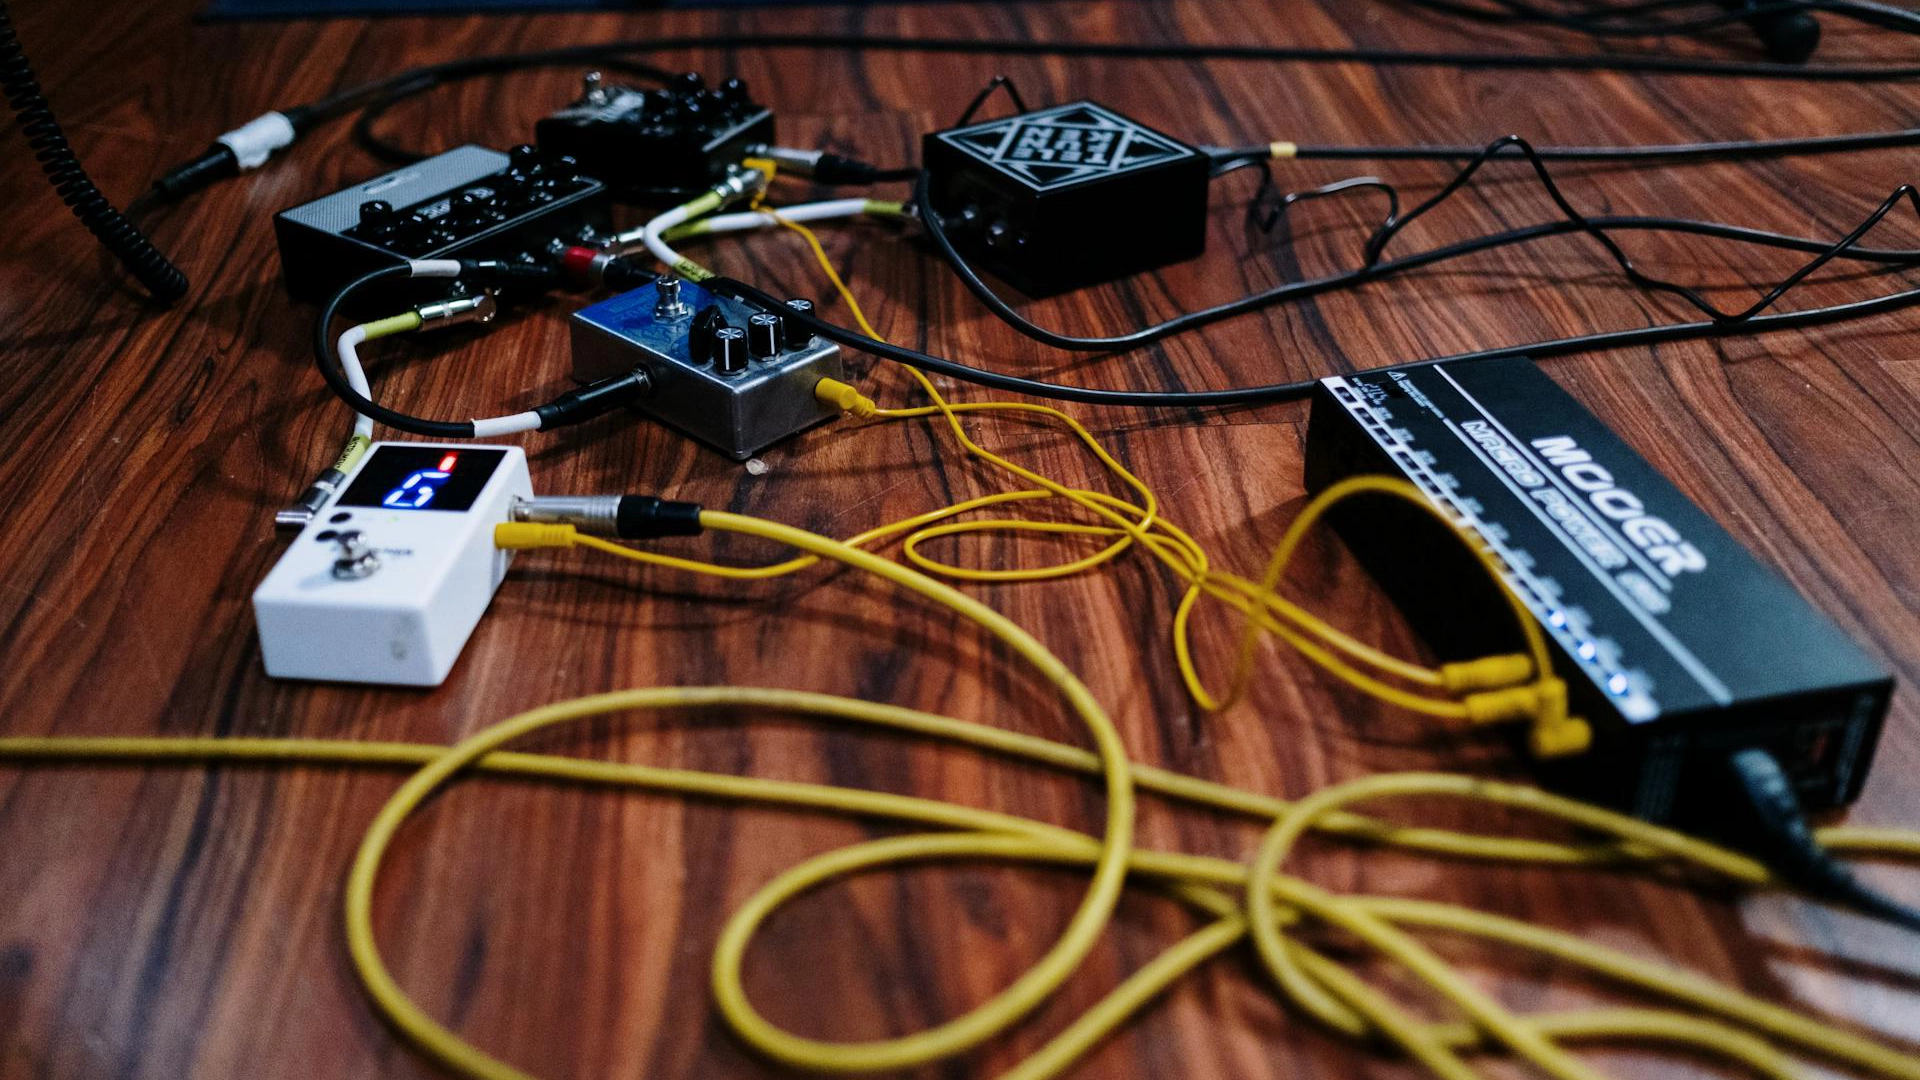
Each pedal in your chain adds its own input and output impedance to the equation. Even when a pedal is bypassed, if it uses mechanical true bypass switching, it's still adding cable length and connections. The cumulative effect builds up quickly.
Let's say you have six pedals on your board, each connected with 18-inch patch cables. You're looking at roughly 9 feet of additional cable, plus all the internal wiring and switch contacts. This setup can easily create enough capacitance to noticeably dull your tone, especially if you're using standard copper cable throughout.
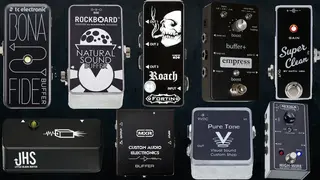
Buffers & True Bypass: What They Do and Don't Do
Now that you understand the problem, let's talk about solutions. The guitar world has developed two main approaches to dealing with signal degradation: true bypass switching and buffer circuits. Each has its place, but neither is a universal solution.
How Buffers Actually Work
A buffer circuit is essentially an impedance converter. It takes your guitar's high-impedance signal and converts it to a low-impedance output. This low-impedance signal can drive long cable runs and multiple pedal inputs without significant loss.
Think of a buffer like a signal amplifier, but instead of making your signal louder, it makes it stronger. The voltage stays the same, but the current capacity increases dramatically. This stronger signal can push through cable capacitance and maintain its high-frequency content over much longer distances.
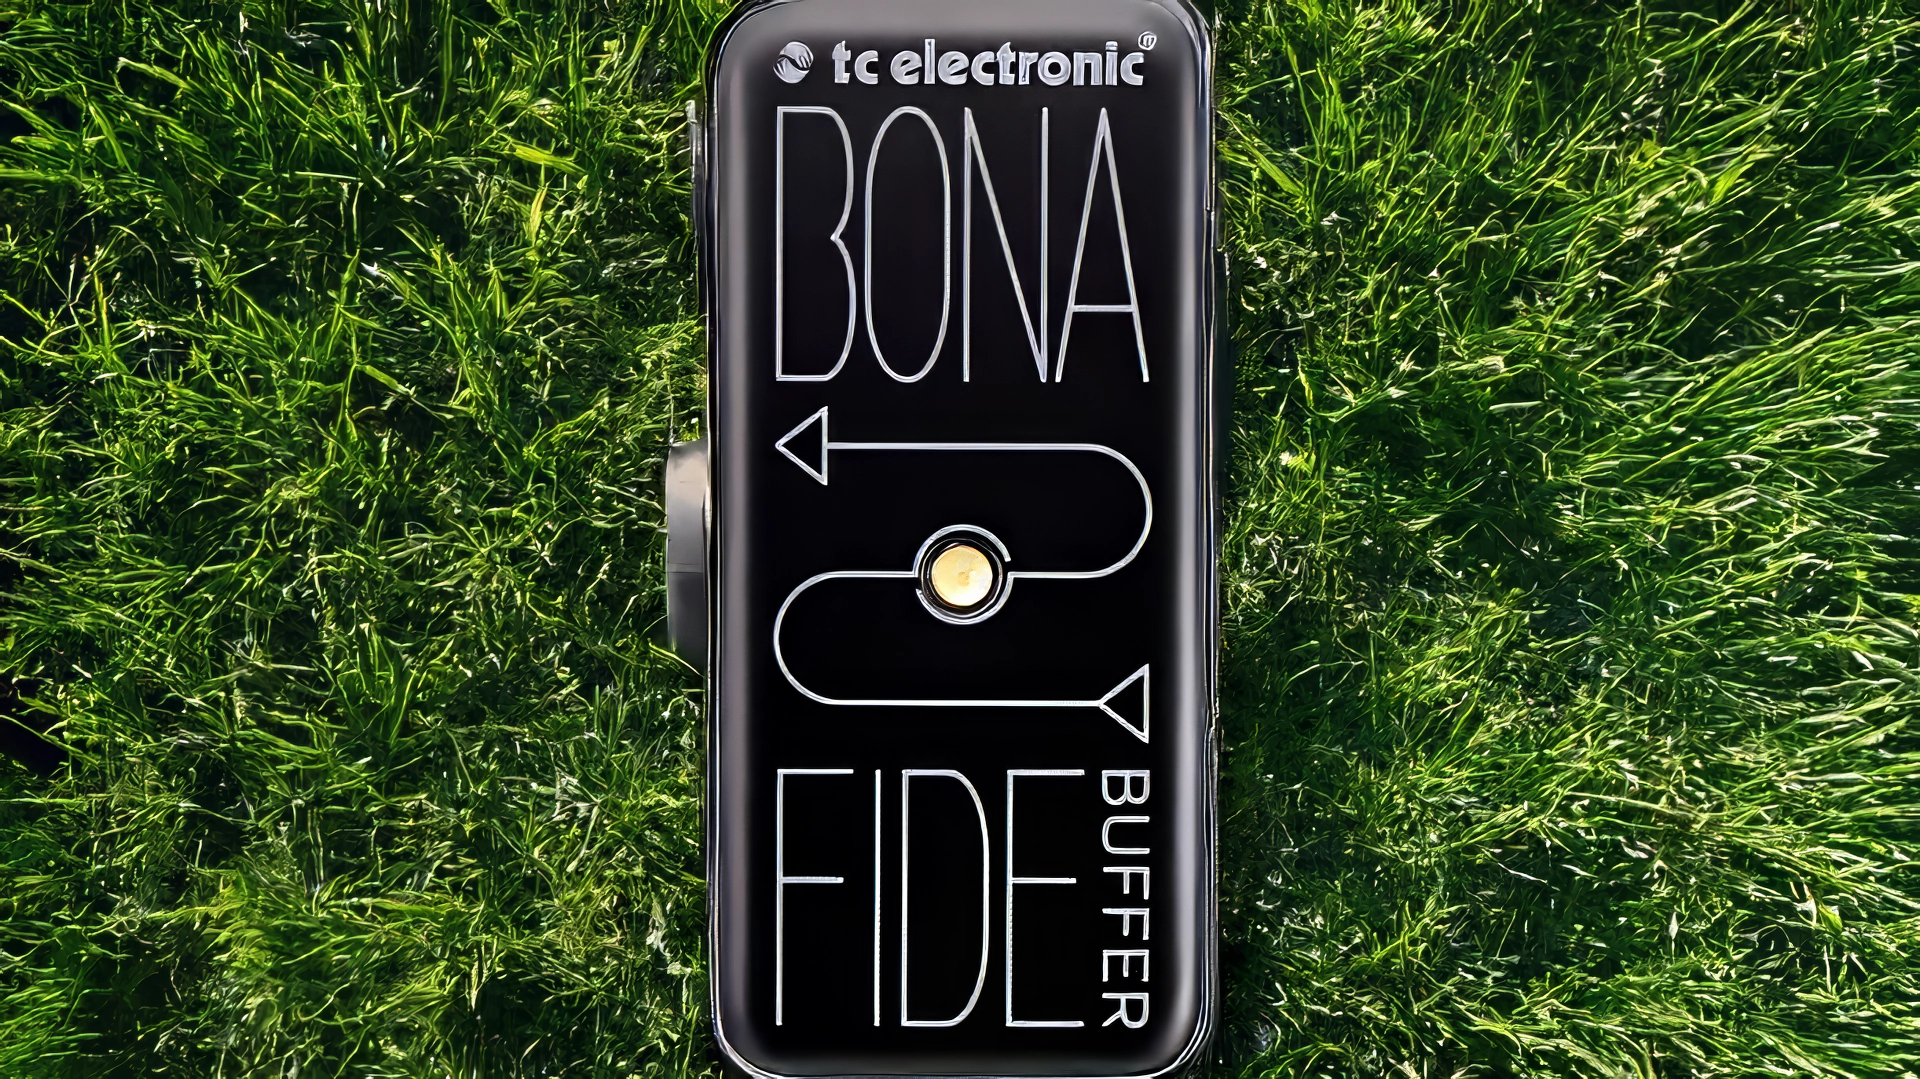
Most modern buffers use JFET (Junction Field-Effect Transistor) or op-amp circuits. JFET buffers, like those found in Boss pedals, tend to have a slightly warmer character, while op-amp buffers can be incredibly transparent. The TC Electronic Spark Booster uses a high-quality op-amp buffer that many players consider completely neutral.
True Bypass: The Double-Edged Sword
True bypass switching physically removes the pedal's circuitry from your signal path when the effect is disengaged. Your signal goes straight from input jack to output jack through mechanical switch contacts. In theory, this preserves your original tone perfectly.
The reality is more complicated. True bypass works beautifully when you have one or two pedals in your chain. But as you add more pedals, you're still adding cable length and connections, even if the individual circuits are bypassed. True bypass doesn't eliminate capacitance, it just removes the pedal's active circuitry from the equation.
The Buffer vs. True Bypass Workflow
Here's where many players get confused. They think they need to choose between buffered pedals and true bypass pedals across their entire board. The truth is, you need both, strategically placed.
A well-designed pedalboard typically uses true bypass for most effects, with strategically placed buffers to maintain signal integrity. The key is understanding where those buffers need to go and why.
The Myth: "True Bypass is Always Better"
The guitar community has developed an almost religious devotion to true bypass, but this devotion often works against good tone. The myth persists because it contains a grain of truth that's been blown out of proportion.
When True Bypass Actually Helps
True bypass shines in specific situations. If you have a vintage pedal with a poorly designed buffer circuit, true bypass can definitely improve your tone when the pedal is off. Many pedals from the 1970s and 1980s had buffer circuits that added noise, coloration, or both.
Single-pedal scenarios also favor true bypass. If you're only using one overdrive pedal, true bypass ensures that when it's off, your signal path is as direct as possible. The Ibanez Tube Screamer famously benefits from true bypass modifications because its original buffer circuit has a distinct tonal signature that some players don't want when the pedal is disengaged.
Where the Myth Falls Apart
The problems start when players apply the "true bypass is always better" logic to complex pedalboards. A board with eight true bypass pedals connected by 18-inch patch cables creates a signal path that's essentially a 12-foot guitar cable with seven additional connections. This setup guarantees tone loss, regardless of how pristine each individual bypass is.
The Sweet Spot Strategy
The most effective approach combines both technologies. Use true bypass for pedals that interact with your guitar's pickup impedance (more on this shortly) and for effects where you want zero tonal influence when bypassed. Use buffers to maintain signal strength over long cable runs and through multiple connections.
The Fuzz Pedal Exception
Vintage-style fuzz and wah pedals represent a special case in signal chain design. These effects were designed in an era when buffers didn't exist, and they rely on specific impedance interactions with your guitar pickups to function properly.
Why Germanium Fuzz Hates Buffers
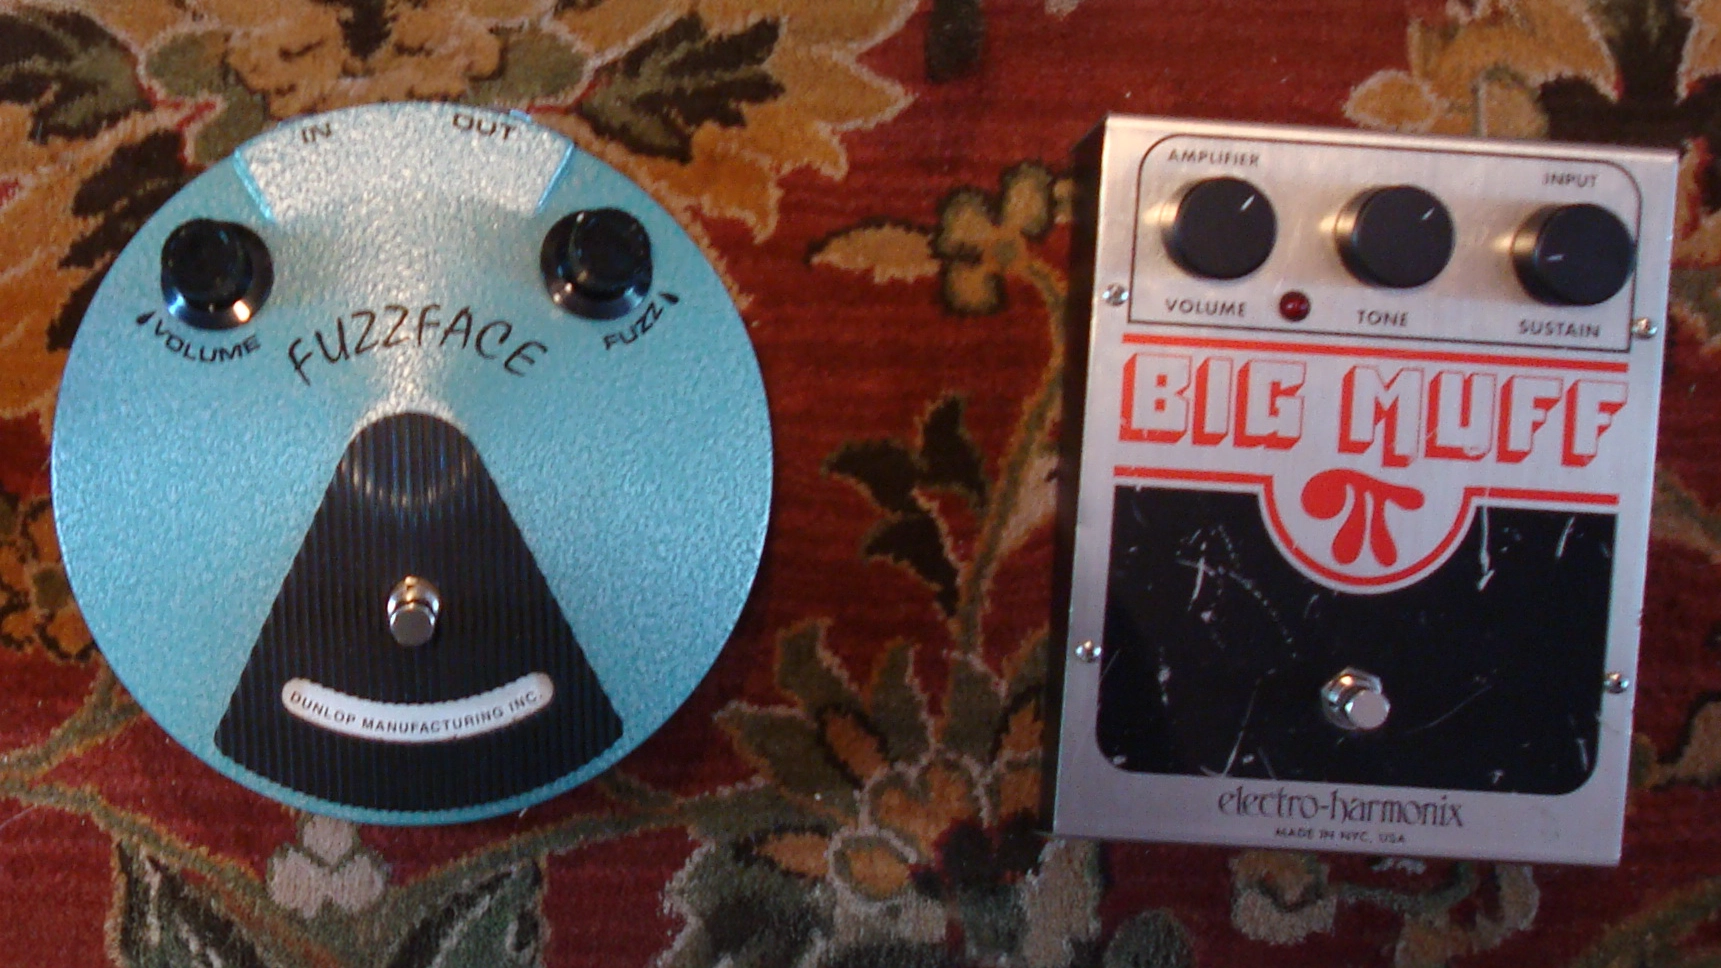
Classic fuzz circuits like the Dallas Arbiter Fuzz Face use germanium transistors with very specific input impedance characteristics. These pedals expect to see the high impedance of your guitar pickup directly. When you place a buffer before a germanium fuzz, you're feeding it a low-impedance signal that it wasn't designed to handle.
The result is often a thin, buzzy sound that lacks the creamy saturation and dynamic response that makes vintage fuzz so appealing. The Hendrix-style Fuzz Face is particularly sensitive to this issue. Many players discover this the hard way when they add a buffered tuner to the front of their signal chain.
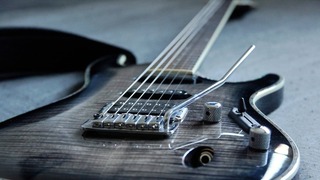
Input Impedance and Pickup Loading
This issue goes deeper than just fuzz pedals. Your guitar's pickups have their own resonant frequency, typically somewhere between 2kHz and 5kHz depending on the pickup design. The impedance of whatever you plug into affects this resonant peak.
A high-impedance input (like most guitar amps and pedals) allows the pickup to resonate naturally. A low-impedance input (like a buffer output) loads down the pickup, shifting its resonant frequency and changing its tonal character.
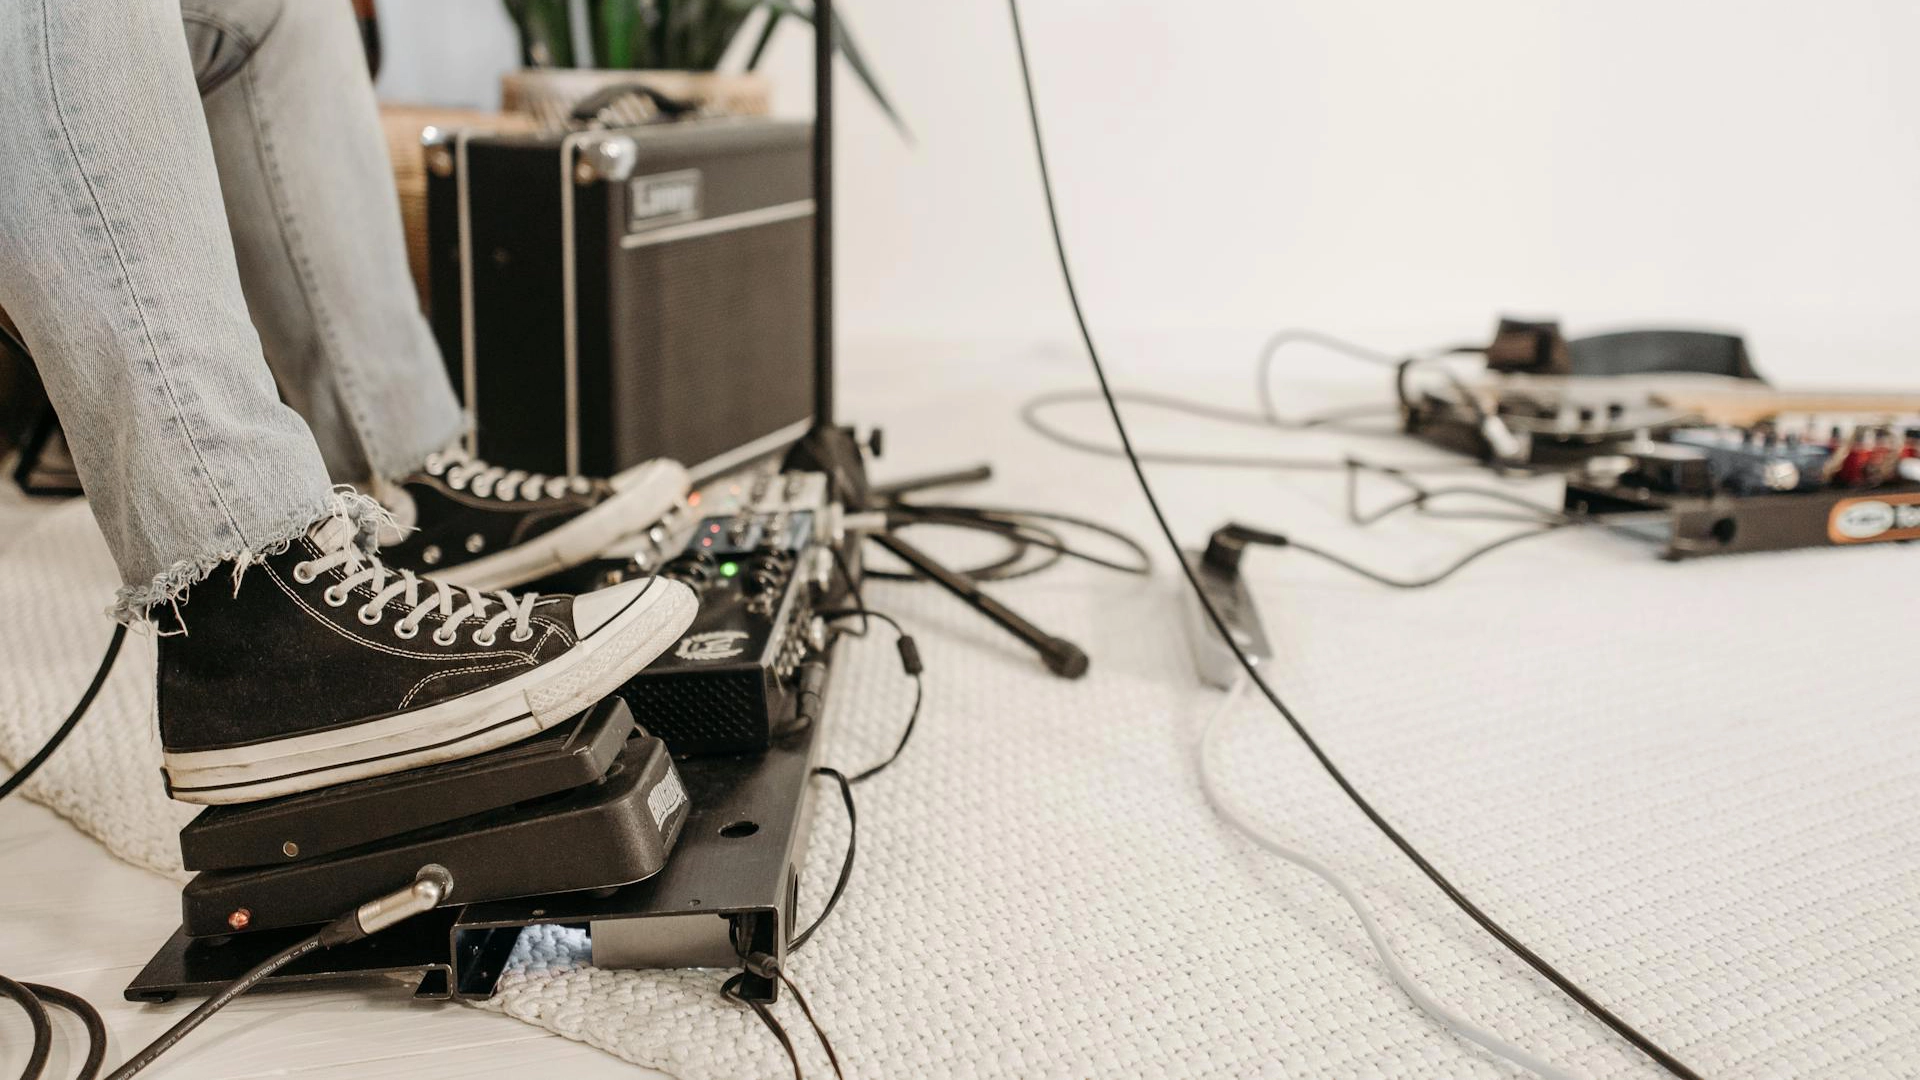
Wah Pedals and Impedance Sensitivity
Vintage-style wah pedals share this impedance sensitivity, though usually to a lesser degree than fuzz circuits. The classic Cry Baby wah uses an inductor-based circuit that interacts with the source impedance to create its characteristic sweep. While modern wah pedals are less sensitive to input impedance, vintage-style circuits still perform best when they see the direct output of your guitar.
The Kirk Hammett signature wah exemplifies this design philosophy, maintaining the impedance sensitivity that gives vintage wahs their distinctive voice.
Strategic Placement Solutions
The solution isn't to avoid buffers entirely but to place them strategically. Keep impedance-sensitive effects (fuzz, vintage-style wah, some octave pedals) at the beginning of your signal chain, before any buffers. This preserves their interaction with your guitar's pickup impedance while still allowing you to use buffers later in the chain.
Practical Buffer Placement Rules
Understanding the theory is one thing, but applying it to your actual pedalboard requires some practical guidelines. Here are the strategies that professional musicians and pedalboard designers use to maintain signal integrity without compromising effect performance.
The First Buffer Position
Your first buffer should typically go after any impedance-sensitive effects but before you start accumulating significant cable length. For most players, this means placing a buffer after your fuzz and wah (if you use them) but before your overdrive and distortion pedals.
A popular approach is to use a buffered tuner like the Boss TU-3 or TC Electronic PolyTune as your first buffer. This kills two birds with one stone: you get accurate tuning and signal buffering in one pedal.
The Cable Length Rule
Here's a practical guideline: if your total cable length (including patch cables) exceeds 18-20 feet, you need at least one buffer. This includes the cable from your guitar to your first pedal, all the patch cables between pedals, and the cable from your last pedal to your amp.
Most players underestimate their total cable length. A typical six-pedal board with 18-inch patch cables and 10-foot cables on each end totals about 29 feet. That's enough cable to cause noticeable high-frequency loss, especially with standard copper cables.
More importantly, each pedal's internal circuitry adds its own capacitance burden to your signal chain. Each connector adds 10-15 picofarads of capacitance, meaning a 10-pedal board with 20 connectors adds the equivalent of 12 additional feet of cable length. The internal wiring, switch contacts, and solder joints in true bypass pedals can have the same effect as extending your cable several dozen meters.
This means your "29-foot" pedalboard could actually present the same capacitive load as a 40+ foot cable run when you factor in all the internal pedal wiring and connections. This cumulative effect explains why even modest pedalboards can suffer from significant tone loss without strategic buffer placement.
Multiple Buffer Strategy
For larger pedalboards, consider using multiple buffers strategically placed throughout the chain. A common approach is to buffer early in the chain (after fuzz/wah), again in the middle (perhaps with a buffered overdrive), and at the end with a buffered reverb or delay.
The Strymon Timeline and BigSky reverbs include excellent buffer circuits that many players use as end-of-chain buffers. This approach ensures that your signal stays strong throughout the entire pedalboard journey.
Amp Input Considerations
Don't forget about your amplifier's input impedance. Most guitar amps have input impedances between 470k and 1M ohms, which works well with both high and low impedance sources. However, some vintage amps and certain high-end boutique amps have different input characteristics.
Vox AC30s, for example, have relatively low input impedance (around 136k ohms) that can interact differently with buffered signals. Some players find that these amps sound better with a high-impedance source, while others prefer the consistency of a buffered input. The only way to know for sure is to try both approaches with your specific amp.
The Isolated Power Supply Factor
Your power supply choice affects signal integrity more than many players realize. Isolated power supplies like the Strymon Zuma or Voodoo Lab Pedal Power prevent ground loops and reduce noise, but they also provide cleaner power that can improve the performance of your buffer circuits.
Daisy-chain power supplies can introduce noise and ground loops that degrade your signal quality. While this doesn't directly relate to impedance, it's another factor in the overall signal integrity equation. Clean power helps your buffers perform at their best.
Advanced Techniques
For players who want to dig deeper into signal optimization, there are several advanced techniques and measurement approaches that can help you fine-tune your setup.
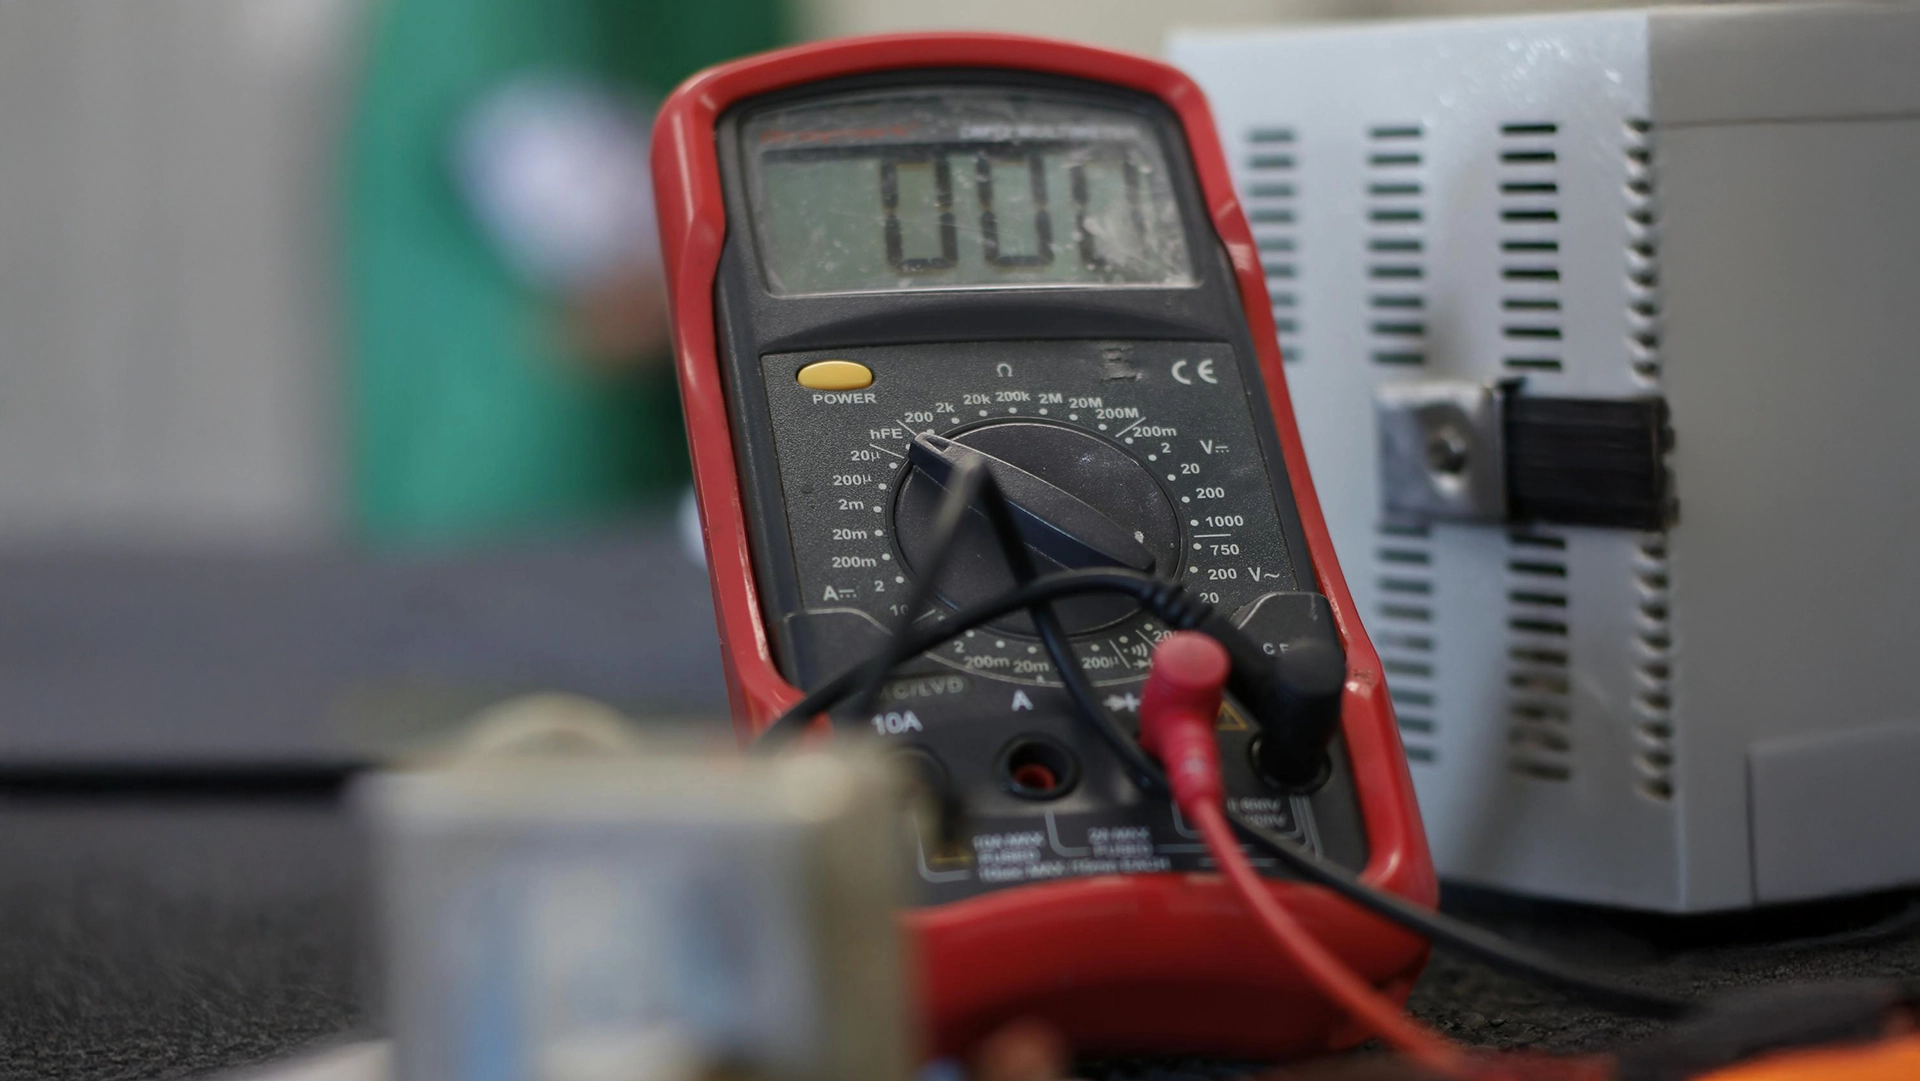
Impedance Measurement Basics
You can measure the impedance characteristics of your gear using a digital multimeter with AC voltage capability. Set your multimeter to measure AC voltage, connect a 1kHz test tone from an audio generator to your pedal's input through a known resistor (try 10k ohms), and measure the voltage across the pedal's input.
The math gets complex quickly, but the basic principle is straightforward: different impedances will show different voltage readings.
Capacitance Testing Your Cables
A capacitance meter (or a multimeter with capacitance capability) can tell you exactly how much capacitance your cables contribute to your signal chain. Most standard guitar cables measure between 100-200 picofarads for a 20-foot length.
High-quality, low-capacitance cables like Mogami 2524 or Canare GS-6 typically measure around 25-30 pF per foot, compared to 50+ pF per foot for budget cables. The Investment in low-capacitance cables can be just as important as strategic buffer placement.
Frequency Response Analysis
If you have access to audio analysis software like Room EQ Wizard (free) or a basic audio interface, you can measure the frequency response of your signal chain. Play a full-range test tone through your pedalboard and compare the output to the input using spectrum analysis.
This approach reveals exactly which frequencies your signal chain is affecting. You might discover that your setup is losing 3dB at 5kHz, information that can guide your buffer placement decisions.
The A/B Testing Protocol
Set up direct A/B comparisons between different buffer placements and cable configurations. Use a simple A/B switch pedal to compare your signal with and without various buffer configurations. Record short clips through your normal amp settings and analyze them later.
This hands-on approach often reveals subtle differences that aren't obvious during live playing.
Oscilloscope Analysis for the Technically Inclined
If you have access to an oscilloscope, you can visualize exactly what's happening to your guitar signal. Connect your guitar to the scope input and observe the waveform as you add pedals and cables to your signal chain.
Watch for rounding of the waveform edges (indicating high-frequency loss) and changes in amplitude (indicating loading effects). This visual approach can help you understand impedance interactions in a very direct way.
Troubleshooting Common Issues

Even with good theoretical knowledge, real-world pedalboard setup can present unexpected challenges. Here are the most common issues players encounter and how to solve them.
The Muddy High-Gain Problem
Some players find that buffers make their high-gain tones sound muddy or compressed. This usually happens when a buffer changes the pickup loading enough to shift the guitar's natural resonance. The solution is often to move the buffer later in the chain, after your primary drive pedals.
Alternatively, try using a JFET-based buffer instead of an op-amp buffer. JFET buffers like those in Boss pedals tend to preserve more of the natural pickup interaction while still providing the impedance conversion benefits.
Fuzz Face Cleanup Issues
If your Fuzz Face (or similar circuit) isn't cleaning up properly with your guitar's volume knob, check for buffers before it in the signal chain. Even a buffered tuner can prevent proper cleanup. The solution is to place all buffers after your fuzz, even if it means accepting some high-frequency loss in the fuzz-to-amp connection.
Some players solve this by using a true bypass looper for their fuzz, allowing them to completely remove it from the signal chain when not in use while maintaining buffer placement for the rest of their board.
Noise Increase After Adding Buffers
Buffers can sometimes increase noise levels, especially if you're using a noisy power supply or have ground loop issues. Isolated power supplies solve most buffer-related noise problems. If you're still experiencing noise, try different buffer pedals, as some designs are quieter than others.
The TC Electronic Spark Booster is known for its very low noise floor, while some vintage Boss pedals can add a small amount of hiss. Context matters: a little buffer noise might be acceptable if it preserves your high-frequency content.
Interaction Issues with Specific Pedals
Some pedal combinations don't play well together, regardless of bypass type. Analog delays can sometimes oscillate when fed by certain buffer circuits. Octave pedals might track poorly if they don't see the impedance they expect.
When you encounter these issues, try changing the order of the problematic pedals or inserting/removing buffers at different points in the chain. There's no universal solution because pedal circuits vary so much, but systematic experimentation usually reveals a working configuration.
Amp Input Matching and Considerations
Your amplifier's input stage plays a crucial role in how buffers and impedance matching affect your overall tone. Understanding these interactions helps you make better decisions about signal chain optimization.
Tube Amp Input Characteristics
Most tube guitar amplifiers have input impedances between 470k and 1M ohms, with the exact value depending on the input tube type and circuit design. A 12AX7 input tube typically presents around 1M ohm impedance, while a 12AT7 might be closer to 470k ohms.
These high input impedances work well with both buffered and unbuffered signals, but the feel can be different. Many players report that tube amps feel more responsive and dynamic when fed by a high-impedance source (like your guitar direct or through true bypass pedals). The buffer's low impedance output can make the amp feel slightly more compressed, though this isn't necessarily worse, just different.
Solid State and Modeling Amp Inputs
Solid-state amplifiers and modeling amps typically have more consistent input impedances, usually around 1M ohms. These amps often work very well with buffered signals because their input stages are designed for consistent impedance matching.
Many modeling amps actually prefer buffered inputs because their analog-to-digital converters work best with strong, consistent signal levels. If you're using a Kemper Profiler or Fractal Audio unit, a buffer can actually improve your tone by ensuring optimal input levels to the digital processing.
Effects Loop Considerations
Don't forget about your amp's effects loop if you use it. Most effects loops operate at line level (+4dBu) rather than instrument level, which means they're designed for buffered signals. Placing unbuffered, high-impedance pedals in an effects loop can lead to poor performance and tone loss.
Real-World Signal Chain Examples
Let's look at some practical signal chain configurations that work well for different musical styles and pedalboard sizes.
The Minimalist Setup
Guitar → Tuner (buffered) → Overdrive (true bypass) → Amp
This simple three-pedal chain works well for players who want to keep things simple. The buffered tuner provides signal strength for the cable runs, while the true bypass overdrive doesn't add any tonal coloration when disengaged. Total cable length is minimal, so one buffer is sufficient.
The Classic Rock Board
Guitar → Wah (true bypass) → Fuzz (true bypass) → Tuner (buffered) → Overdrive (true bypass) → Delay (buffered) → Amp
This configuration keeps the impedance-sensitive wah and fuzz at the front, adds a buffer after them to maintain signal integrity, and ends with a buffered delay that can drive the cable to the amp. The buffered delay also prevents the delay repeats from being affected by cable capacitance.
The Modern Versatility Setup
Guitar → Compressor (buffered) → Overdrive 1 (true bypass) → Overdrive 2 (true bypass) → Chorus (buffered) → Delay (true bypass) → Reverb (buffered) → Amp
This larger board uses multiple strategic buffers to maintain signal integrity through a complex chain. The compressor buffer handles the front end, the chorus buffer maintains signal strength through the middle section, and the reverb buffer drives the final cable to the amp.
The High-Gain Metal Configuration
Guitar → Noise Gate (buffered) → Boost (true bypass) → High-Gain Distortion (true bypass) → EQ (buffered) → Delay (true bypass) → Amp
Metal players often prefer this approach because the buffered noise gate cleans up the signal early in the chain, while the true bypass boost and distortion preserve the aggressive character of the high-gain tones. The buffered EQ provides signal strength for the remaining pedals.
You Control Your Tone Now
Understanding impedance, buffers, and true bypass isn't about following rigid rules or buying expensive gear. It's about making informed decisions that serve your music. Every guitar rig is different, and what works perfectly for one player might not suit another's style or equipment.
The key insight is that tone suck isn't inevitable. With strategic buffer placement, quality cables, and an understanding of how your pedals interact, you can maintain your guitar's natural voice through even complex signal chains. You don't have to choose between having lots of pedals and having good tone.
Start by evaluating your current setup. How much total cable length are you dealing with? Which pedals in your chain are impedance-sensitive? Where could strategic buffer placement help maintain signal integrity? These questions will guide you toward practical solutions.
Remember that impedance matching is just one factor in your overall tone. Clean power, quality cables, and proper gain staging all contribute to signal integrity. But understanding impedance gives you a powerful tool for diagnosing and solving tone problems.
The goal isn't to eliminate every possible source of signal degradation, it's to make thoughtful compromises that preserve the aspects of your tone that matter most to your music. Some players prefer the slight high-frequency roll-off that comes with longer cable runs because it smooths out harsh digital pedals. Others want maximum clarity and sparkle, even if it means more complex buffer management.
About the authors
S. Jino is an accomplished multi-instrumentalist and music producer based in Kolkata, India, distinguished by his self-taught mastery and unique blend of technical acumen and musical performance. His extensive experience was forged through hands-on dedication, starting with the full restoration of a broken guitar. Jino's capabilities span keyboards, pedals, and advanced digital production, reflecting a comprehensive skill set developed independently. As a significant contributor to the music scene, Jino regularly performs with worship bands and college ensembles. He has also established himself as a reliable and authoritative professional in freelance mixing, mastering, and original music creation. Inspired by the innovative sounds of Brian May and David Gilmour, and influenced by Kolkata's vibrant metal community, Jino is committed to the intricate art of vintage gear restoration and the continuous exploration of music and technology fusion. His current professional setup, featuring a meticulously restored nameless guitar, a Fender Player Strat, and a Boss Katana 50. Read more