


Pricing and availability
We compare 600+ stores and found this item at 5 stores. Prices updated .
Store
Reviews
Price
Price History
Based on price data from 4 merchants for "Waves Renaissance Compressor Plugin". Prices shown reflect NEW condition. Tracking began Apr 2, 2026.
* Product prices and availability are updated by Equipboard every 24hrs and are subject to change. Equipboard may receive compensation for purchases made at participating retailers linked on this site. This compensation does not affect what products or prices are displayed, or the order of prices listed. For more information, please refer to our affiliate disclosure.
Description
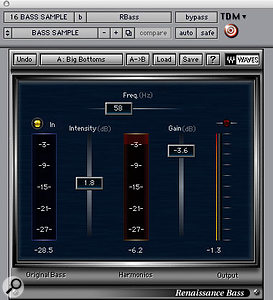
Step into the world of dynamic sound shaping with the Waves Renaissance Compressor Plugin—a perfect blend of analog warmth and digital precision. This compressor is a favorite among musicians and sound engineers who crave the nostalgic punch of vintage gear combined with the versatility of modern technology. Whether you're looking to emulate the smooth behavior of an opto-compressor or the crisp control of a solid-state device, this plugin has you covered with its dual compression modes: Vintage Opto and Modern Electro.
Designed to enhance your audio projects, the Renaissance Compressor features an internal brickwall limiter that ensures your output remains distortion-free even when you push it to the limits. Its Auto Release Control (ARC) system is engineered for seamless gain reduction, allowing you to achieve increased RMS levels effortlessly. With support for up to 24-bit/192kHz resolution, your sound retains its pristine quality, whether you're working in mono or stereo.
This plugin doesn't just stop at providing exceptional audio quality; its user-friendly interface means you can dive straight into your creative process without getting bogged down by complicated settings. Ideal for both seasoned professionals and aspiring producers, the Waves Renaissance Compressor is your go-to tool for achieving that classic warm compression with modern flexibility.
Key Features:
- Vintage Opto and Modern Electro compression modes
- Internal brickwall limiting for clip-free output
- Auto Release Control (ARC) for increased RMS levels
- Double precision bit resolution processing
- Up to 24-bit/192kHz resolution
- Mono and Stereo components
Product specs
| Software Type | Compressor |
| Platform | Mac, PC |
| Upgrade/Full | Full |
| Download/Boxed | Download |
| Bit Depth | 64-bit |
| Format | AAX Native, AudioSuite, VST, AU, SoundGrid |
| Hardware Requirements - Mac | Intel Core i7 or higher (M1 support), 8GB RAM minimum |
| Hardware Requirements - PC | Intel Core i5 / AMD Quad-core or higher (AVX required), 8GB RAM minimum |
| OS Requirements - Mac | macOS 10.15.7 or later |
| OS Requirements - PC | Windows 10 or later (21H2), 64-bit |
FAQs
-
What are the key features of the Waves Renaissance Compressor Plugin?
-
The Waves Renaissance Compressor Plugin features classic warm compression and expansion with an optimized interface, integrating technologies from the C1-Compressor/Gate and L1 Ultramaximizer. It also includes Waves' ARC (Auto Release Control) technology for effective dynamic control.
-
Is the Waves Renaissance Compressor Plugin compatible with my DAW?
-
The Waves Renaissance Compressor supports AAX Native, AudioSuite, VST, AU, and SoundGrid formats, making it compatible with most popular DAWs on both Mac and PC platforms.
-
Can the Waves Renaissance Compressor Plugin be used on both Mac and PC?
-
Yes, the Waves Renaissance Compressor Plugin is compatible with both Mac (macOS 10.15.7 or later) and PC (Windows 10 or later, 64-bit) systems, meeting specific hardware and software requirements.
-
What are the system requirements for running the Waves Renaissance Compressor Plugin on a Mac?
-
For Mac, the Waves Renaissance Compressor requires macOS 10.15.7 or later, an Intel Core i7 or higher (M1 support), and at least 8GB of RAM.
-
Does the Waves Renaissance Compressor Plugin offer any unique sound characteristics?
-
While it's not primarily a character compressor, the Waves Renaissance Compressor can add warmth and flavor to your audio, especially when the "warm" parameter is engaged, making it versatile for various tonal applications.
Videos

Mixing With Mike
Mixing With Mike Plugin of the Week: Waves Renaissance Compressor

Mixing With Mike Plugin of the Week: Waves Renaissance Compressor
Mixing With Mike
Waves Renaissance Compressor: Why Is It So Popular??🧐

Dxt3r
Waves Mix Bus Compression - Episode #1 Renaissance Compressor

Production Expert

Renaissance Compressor from Waves || Tuesday Review Day

Topmop Productions
Reviews
PROS
-
Intuitive and user-friendly interface
-
Delivers phenomenal transparency for clean audio processing
-
Features a "warm" parameter for added audio flavor
-
Suitable for both small and large audio productions
-
Highly recommended addition for any audio project collection
CONS
Owner Insights
We analyzed real musician discussions from forums and Reddit to find what players love, question, and tweak about Waves Renaissance Compressor Plugin.
Features and functionality
-
The Renaissance Compressor is noted for its transparency and ease of use, with auto-release and a built-in limiter on the output providing a foolproof experience.
Source -
Users appreciate the musical algorithms and unique features like the arc, opto, and warm settings, which enhance its utility beyond basic compression tasks.
Source -
The absence of a knee control in RComp is noted, but it remains a favorite for well-recorded material.
Source
Comparisons
-
While some newer engineers favor the versatile Fabfilter C2, the Renaissance Compressor is appreciated for its classic hardware-inspired curves and tone, making it familiar to seasoned professionals.
Source -
RComp's simplicity with its original GUI is favored over Logic's visually appealing but complex interface that can disrupt workflow.
Source -
Users note that while Waves plugins are generally high-quality, alternatives like Plugin Alliance and Universal Audio are often preferred for specific emulations, such as the 1176 compressor.
Source
Use cases and applications
-
The compressor excels on vocals and snare, often used for initial compression before layering with other compressors like the CLA 76 for a natural sound.
Source -
RComp is likened to an LA-2A in opto mode and 1176 in electro mode, providing specific tonal characteristics reminiscent of these classic compressors.
Source -
Renaissance Compressor is highlighted as a staple in vocal chains, commonly used alongside other plugins like the CLA 76 for enhanced vocal treatment.
Source
User experience
-
The plugin's longstanding presence and streamlined workflow appeal to professionals who prioritize efficiency and familiarity in their mixing processes.
Source -
Some users miss the original RComp GUI, but appreciate the ability to revert back from the newer version.
Source -
Owners report that the Renaissance Compressor is reliable and straightforward, often described as a "just works" tool, appreciated for its simplicity in complex mixes.
Source
Software and compatibility
-
Users often face compatibility issues due to frequent software updates, requiring paid upgrades to maintain functionality across different operating systems.
Source
5.0 out of 5
Based on 0 Reviews and 15 Ratings
Artist usage
Add artist

Spotted on "Fred Falke In The Studio" with Futur Music Magazine.


Used on "A Lot", as mentioned by producer Maddmix in this March 2019 Sound on Sound interview and as visible in the aux "All Vox" in a downloadable photo of the "A Lot" Pro Tools session (available in this .zip file).
"'All Vox' has the Avid Lo-Fi and Waves RCompressor. I take the Sample Size down to 15 [bits] with the Lo-Fi, which is a trick I learned from Jaycen. It works like a form of compression, and makes the vocals a bit more up-front and louder. The RCompressor is set to a ratio of 2.56 and is there to keep the vocals in place. 'All Drums' has the Acustica Diamond, in a special edition made for Dave Pensado. I felt that the drums needed a little more 100Hz, so I boosted with that plug-in. I like the way it works on the low end. I also used the Lo-Fi on here, on the same 15-bit Sample Size setting as with the vocals."


Used for vocals on "Sum 2 Prove", as stated by mix engineer Tillie in this June 2020 Sound on Sound interview.
"All Lil Baby's vocals go through an aux track," says Tillie, "on which I have the Waves DeEsser, Avid EQ3 7-band, Waves SSL Channel and Compressor, Waves RCompressor, UAD J37 and the FabFilter Pro‑DS de-esser. There are two sends to reverb aux tracks and one to a half–note delay. The Waves DeEsser is there because I felt the vocal was too bright. The EQ3 has a pretty involved curve, with a low cut at 69.8Hz, notches at 184.7Hz and 425.2Hz, and me adding at 2kHz and high end at 5.37kHz, because I wanted some more presence. The SSL Compressor is not doing much, it's just there for vibe. I do the actual compression with the RCompressor.
"The J37 adds analogue vibe — it's one of my favourite plug–ins on vocals. It really brings them to life. I did all the heavy lifting with the first de-esser, and the Pro‑DS is just to catch anything that's the result of the EQ curve that I added. There's also a Vocal Parallel aux with the Softube Tube‑Tech CL‑1B to add more body and a bit of beef. I think that compressor just makes everything sound better. It gives you a different tonal character.
"The first send goes to the Verb aux track, which has the DVerb, set to a Large Hall, and an EQ3 7-band, taking out low end below 100Hz. The second send goes to the Verb 2 aux, with the Waves RVerb, the Waves REQ, again rolling off low end, and the Waves S1 Stereo Imager. I use the Imager on my reverbs probably 75 percent of the time. My style of mixing is very wide, so I tend to spread out my instruments and my effects, and I place things in different places in the stereo mix. I always like to add width and depth, so you can feel things and they are not necessarily right up in your face. But I leave the vocals to be the centre point of the mix."


Used on Flo Rida and T-Pain's vocals for "Low", as stated by mixer Fabian Marasciullo in this Sound on Sound interview.
"There were lots of vocals and I chose not to bounce them down, because I prefer to process every individual bit separately. It uses more DSP on the computer, but you have more flexibility in the way you can treat sections, and hence more depth in the overall vocal sounds this way. The 'Lead' and 'Dbl' tracks are the main verse vocals by Flo Rida, he's doubling himself like many vocalists will do. Flo has a keen melodic sense when he's rapping. The A, B and C auxes separate the three different parts of the verse. The 'Whine 1, 2, 3' backing vocals only occur in the third verse. Underneath 'Aux 4' are T–Pain's backing vocals. 'Main Hk1,2,3,4' are all T–Pain doing a unison of one note.
"As is usual for me, I began the mix with the vocals, set against the rough music bed. You can see the latter in the left pane track window in the Edit Window, where it's called 'T_Pain_5 LO'. Of course I later muted that track. After having cleaned up and EQ'd the vocals I worked on the drums, and then the synths. I then brought the vocals back in to get their levels in relation to the music and do some automation.
"I used the Waves Renaissance Channel on the A, B and C auxes. I use the RChannel on all my vocals. It's basically a combination of the RCompressor, the REQ, and the RVox, all in one, and it's great. For this record I used a pretty cool preset called 'CloseWarmVox', and I tweaked from there. You can see that it rolls off at the bottom and it has a little touch at the top. I almost used it as a filter on this particular song to get clarity in the bottom, add some high and have a bit of compression. I also used it on T–Pain's vocals.

Used for the vocals on "Save Room", as stated by mix engineer Tony Maserati in this March 2007 Sound on Sound interview. An image of the settings can be found here.
Vocals: McDSP Filter Bank E6, Waves Renaissance Compressor, Renaissance EQ, L1 Ultramaximiser
"The song has two lead vocal comps, on tracks 48 and 49. You can see that I'm using a lot of plug-ins on those: I'm doing a lot of drastic stuff. They were probably recorded on two different occasions with two different engineers who didn't take the time to match the performances by using the same microphone and signal chains. I get really pissed at this lack of effort on the part of recordists — there are standards in engineering. John Legend is a phenomenal vocalist and before he comes into your room to record, you should reach out to other engineers who have recorded with him to find out what they used — especially, of course, the guy who recorded the song that you're going to be overdubbing onto! That's what I did, the first time I recorded John.
"We liked the lead vocal, it had an energy that we did not want to give up, but it's not recorded consistently. You can even see on the screen that the levels are all over the place. So I spent a lot of time and energy pushing and pulling all over the place to compensate for frequency anomalies and to make the two takes sound the same, as well as to force all the energy out of the vocals that is in there. On track 48 I have a Filter Bank EQ that's pushing a ton of bottom and taking off some top. The Renaissance Compressor is trying to make sense of that, levelling things out a bit with a really slow attack.
"I don't normally use the L1 Ultramaximiser on a lead voice, but it was probably already there, and I'm using it to get some intelligibility and energy from the vocal. The Renaissance is boosting above 9k and the McDSP is cutting around there as well. I think it's because I'm compensating for the L1, which is doing something I'm not entirely happy with. A lot of what I'm doing is simply compensating for a poor recording.
"Lastly I throw on the R4 Renaissance EQ, probably because after mixing for a couple of days, I felt that it needed a little bit more top, and I did not want to change my settings on the outboard, which was probably my GML 8200. I'm also EQ-ing on the board. So I'm being heavy-handed, also with the effects on track 49, in trying to match these two tracks. I was really fighting until we got something out of it, and I think we accomplished that. The end result sounds pretty good."


Used for Quavo and Offest's features on Beyoncé and Jay-Z's "Apeshit", as stated by producer Stuart White in this September 2018 Sound on Sound interview.
The first four aux tracks feature SoundToys effects, namely Little Microshift, two EchoBoy delays, and a delay from the Little PrimalTap. Next are a Hall Reverb aux and a Church Reverb aux, both using Waves’ RVerb, an EMT plate from Audio Ease’s Altiverb, four aux tracks with the Waves H-Delay and various other plug-ins on them as well, and four more reverb auxes with the Avid Revibe II, two Avid D-Verbs and another RVerb.
White: “I use the Little Microshift in pretty much every mix, with the left-right micro pitch-shift effect that’s similar to the classic effect in the Eventide H3000 shift where you pitch one side down six cents and one side up six cents to create width. It’s a good way to get your vocals wider without them being out of phase. It thickens up vocals, and is kind of like a doubler. I do quite a lot of filtering on some of the EchoBoy delays, for example with the Waves REQ, and I am adding colour with the SoundToys Devil-Loc, which is great if you want to colour the delay so it is separate from the main vocal, and compress it with the UAD LA3A and mix that in to taste.”
(...) “The Migos vocals came in as seven audio tracks, with the Avid D-Verb on each of them. Putting a D-Verb on a track before EQ is not something I normally do, but it sounded great. So I adjusted them a bit, but otherwise left them as they were. The tracks also came in with the Aux track above, and the EQ3, with a high pass at 60Hz and notches at 430Hz and 1.41kHz and a high boost, the Waves API 2500 compressor, the RComp, the Waves Q10 EQ, following a slightly similar curve to the EQ3, the Waves De-esser, the Waves Aphex Aural Exciter, and the Avid Dyn3 expander/gate. I added the EQ3, with another high-pass filter at 144Hz, and the RComp, with a ratio of 10:1.”


Used for vocals on "ESSKEETIT", as outlined by producer CBMIX in this May 31, 2018 Genius Deconstructed interview at 4:05.
So, the vocals, I actually recorded them through an aux track. The plugin chain for the vocals is the RComp, SSL Channel Strip, and a de-esser [pulls up Dynamics III De-esser]. There's literally, absolutely no EQ on the vocal at all. It was just a proper vocal tone, I had the mic set up right, I had him on the mic right. I'll solo the lead vocal of the hook. That's dry. With the delay and reverb, it kind of makes it a little more spacey, but it's very low and very subtle. Here's my delay setting. It's a H-Delay. Super low feedback, super filtered. My reverb setting is just a D-Verb, 1.7 decay time. I put a one-band EQ to take out some of the mud of the reverb afterwards.

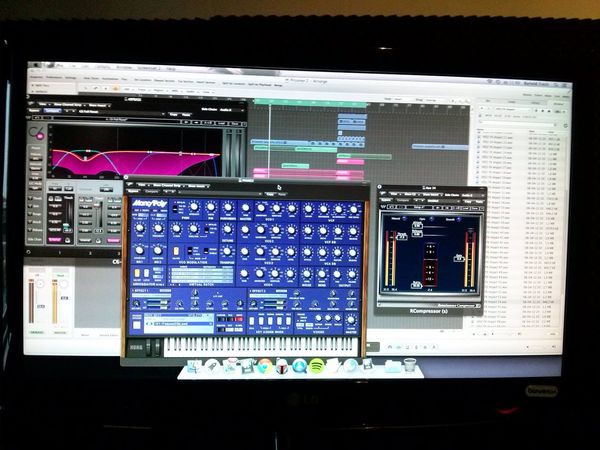
Disfunktion posted this photo on their Facebook fan page which shows them utilizing the Waves Renaissance Compressor Plugin with this caption: "Studio day!"

Used on Flo Rida and T-Pain's vocals for "Low", as stated by mixer Fabian Marasciullo in this Sound on Sound interview.
"There were lots of vocals and I chose not to bounce them down, because I prefer to process every individual bit separately. It uses more DSP on the computer, but you have more flexibility in the way you can treat sections, and hence more depth in the overall vocal sounds this way. The 'Lead' and 'Dbl' tracks are the main verse vocals by Flo Rida, he's doubling himself like many vocalists will do. Flo has a keen melodic sense when he's rapping. The A, B and C auxes separate the three different parts of the verse. The 'Whine 1, 2, 3' backing vocals only occur in the third verse. Underneath 'Aux 4' are T–Pain's backing vocals. 'Main Hk1,2,3,4' are all T–Pain doing a unison of one note.
"As is usual for me, I began the mix with the vocals, set against the rough music bed. You can see the latter in the left pane track window in the Edit Window, where it's called 'T_Pain_5 LO'. Of course I later muted that track. After having cleaned up and EQ'd the vocals I worked on the drums, and then the synths. I then brought the vocals back in to get their levels in relation to the music and do some automation.
"I used the Waves Renaissance Channel on the A, B and C auxes. I use the RChannel on all my vocals. It's basically a combination of the RCompressor, the REQ, and the RVox, all in one, and it's great. For this record I used a pretty cool preset called 'CloseWarmVox', and I tweaked from there. You can see that it rolls off at the bottom and it has a little touch at the top. I almost used it as a filter on this particular song to get clarity in the bottom, add some high and have a bit of compression. I also used it on T–Pain's vocals.


In a 2013 video by Waves, at 2:14, audio engineer Manny Marroquin mentions that his favorite compressor for vocals is the Waves Renaissance Compressor Plugin, often referred to as "RComp."


Used on Cardi B's vocals for "Bodak Yellow", as mentioned by mix engineer Evan LaRay in this February 2018 Sound on Sound interview.
In his mix of ‘Bodak Yellow’, Evan LaRay used almost identical vocal chains on two auxiliary busses. The ‘Vox 1’ chain includes FabFilter’s Pro-DS de-esser and Waves’ C4 multiband compressor, plus the Waves CLA Vocals plug-in and SoundToys’ Decapitator saturation processor.
The main ‘Hook’ and ‘Verse’ vocal tracks have similar plug-in chains, incorporating the EQ3 seven-band, Waves CLA-76 and Waves De-esser, though the ‘Hook’ also has FabFilter’s Timeless 2 delay. LaRay explains, “The EQ on the ‘Hook’ has a high-pass, around 100Hz, and I’m also cutting 3dB at 300Hz, because the vocal sounded a bit muddy, and again 3dB at 4kHz, because there was a piercing frequency there. The CLA keeps the peaks in check, and the de-esser again takes some higher frequencies out, at 4270Hz, and the Timeless is another favourite plug-in. I think in general the FabFilter plug-ins are extremely dope. I wanted the ‘Hook’ vocal to stand out from the ‘Verse’ vocal, so I used a stereo delay preset, and then tweaked that. The presets on the FabFilter plug-ins are pretty good: you just run through all of them and then choose the best one. In this case I lowered the width and the wet value of the stereo delay preset, and that sounded good and gave the hook its own space. The three plug-ins on the ‘Verse’ track do pretty much the same.
“The ‘Inout’ tracks that are below the ‘Hook’ and the ‘Verse’ are vocal doubles. They are words or lines we use for emphasis and additional power on these lines and words. They come from one of her original vocal takes, which I just cut and cleaned up. Both ‘Inout’ tracks have the Waves RCompressor, just containing these words and lines so they don’t overwhelm the ‘Hook’ or the ‘Verse’ vocal, and then the FabFilter Pro-Q2, taking out some high frequencies, again to make sure it doesn’t clash with the leads, and also cutting below 200Hz. And there’s a delay on these tracks to put them in a slightly different space from the lead vocal tracks.
“In addition to the two ‘Inout’ tracks, both the ‘Hook’ and the ‘Verse’ tracks are also accompanied by an ‘Ad Libs’ track, which were some ad libs Cardi had recorded with Mike over at Krematorium. Mike had also set up a separate aux track for these ad libs, which is ‘Vox2’, and I liked that and kept two of the plug-ins he had on that: the [Avid] Sansamp for some distortion and the SoundToys Panman. I then added the D-Verb and the [Waves] CLA Vocals. I adore the CLA Vocals. I use it on every track I work on. When I don’t use it, the vocals sound completely different. I’d love to know what exactly it does! Finally, the inserts have the Waves L1, just to control the peaks.
“The other tracks — ‘EXF1’, ‘EXF2’, ‘EXF3’ and ‘EXF4’, are because I prefer to create a new track if I want to have a specific effect on specific words or phrases. I prefer doing that to automating the effects on a track. Automation is great, but I tend to only do volume automation. So I copy audio to another track, and then put the effect on that, and in this case I created four different effects tracks with four different delays. ‘EFX1’ is the main one, and has the same three plug-ins as the Verse tracks — EQ3 three-band, CLA76 and Waves De-esser — just with the EQ3 cutting more of the high frequencies. Then there’s an eighth-note ping-pong delay from the Waves H-Delay, and then a D-Verb set to ‘hall’ with 7s decay and a 15ms pre-delay. ‘EFX2’ has another H-Delay delay, ‘EFX3’ the Timeless 2 delay, and ‘EFX4’ again has the H-Delay plus a D-Verb.”
All the main vocal audio tracks go to LaRay’s ‘Vox1’ aux group track. This, he explains, has “A FabFilter Pro-DS de-esser, then the Waves RCompressor controlling the peaks, the Waves C4 multiband compressor boosting the high end and containing the lows in her voice, so it doesn’t cut through too much, and Waves CLA Vocals. Again, it’s really making my vocals sound good. I push the Pitch fader to stereo, spank it on the compressor, also push up the treble to brighten it up, turn the reverb down to ‘tight’, and lower the delay by 9dB because my own quarter delay is my main vocal delay, and it sounds great. There’s also a SoundToys Decapitator, to add more harmonic distortion, and then there’s the Waves RVox. That was supposed to be the final plug-in on the insert, but then I realised the vocal was still peaking too much once she began rapping loudly, so I put on the L1 [limiter] to control that.”
The ‘special sauce’ in Evan LaRay’s mixes comes from a parallel aux channel containing a blend of compression, saturation, EQ and other processors. Key ingredients are Waves’ PuigChild compressor and PuigTech equaliser.
The ‘Vox1’ and ‘Vox2’ tracks also each have a Trim plug-in on an insert, and sends to the ‘Verb’ aux and to the ‘ELR’ (LaRay’s initials) track. “I put the Trim on all my tracks at the end of the vocals, and at the end of the beat, because the vocals actually began distorting in places. These two tracks were too hot, and I wanted to make sure they had a good level before going to the ‘Sub Print’ track. I have the ‘ELR’ aux track in every session. It’s most of all parallel compression, but I also always try out new things with distortion, exciters and things like that, and I label that ‘ELR’. In this case it really is the ‘ELR’ track that makes the vocals cut through the mix.
“The compression on the ‘ELR’ track comes from the Waves PuigChild 670, which is a great compressor, and it’s compressing a lot, so the vocal stays right there in the middle. The signal is then going to the PuigTech EQP-1A, which is boosting some low end to add some warmth to the vocals, and some 5kHz, and then the Waves Aphex Vintage Aural Exciter, set to AX Mix 6, for some added crispness and clarity, then the EQ3 seven-band to control the low mids, and another De-Esser cutting 4398Hz, to finalise the vocal sound. The L1 also helps keep the vocals in the same place. Finally, the ‘Verb’ send on the ‘Vox1’ and ‘Vox2’ tracks goes to the ‘Verb’ aux, which has the Waves RVerb, and that pretty much glues everything together.”
Album Usage
The Waves Renaissance Compressor Plugin has been featured on the following albums:
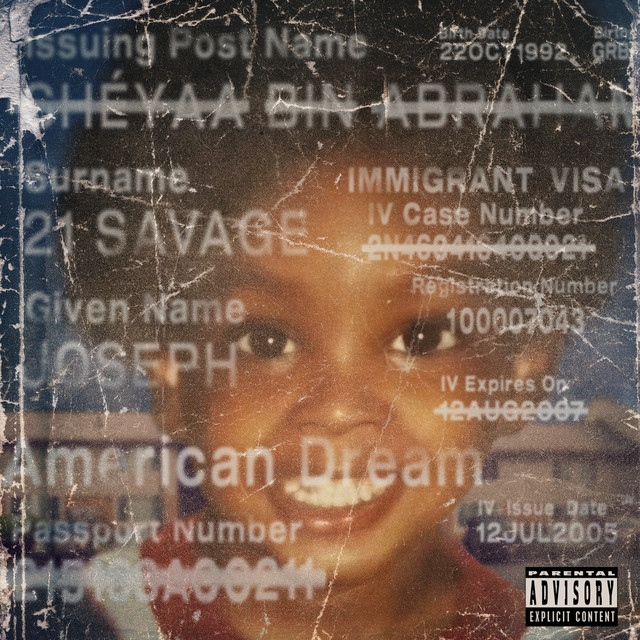
american dream (nightcore version)
21 Savage (2024)
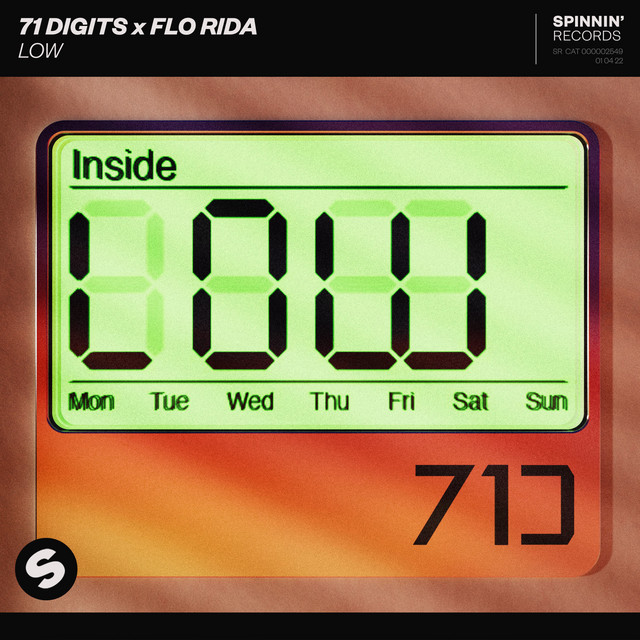
Low
Flo Rida (2022)

4NEM
Chief Keef (2021)
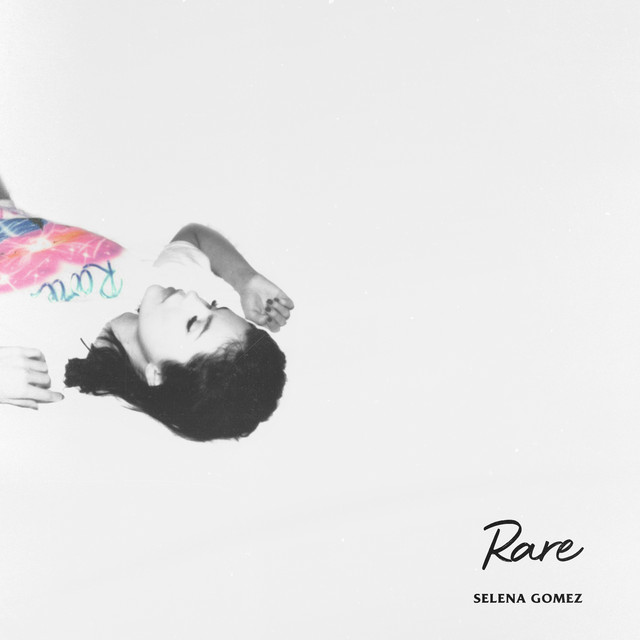
Rare
Selena Gomez (2020)

Sum 2 Prove
Lil Baby (2020)
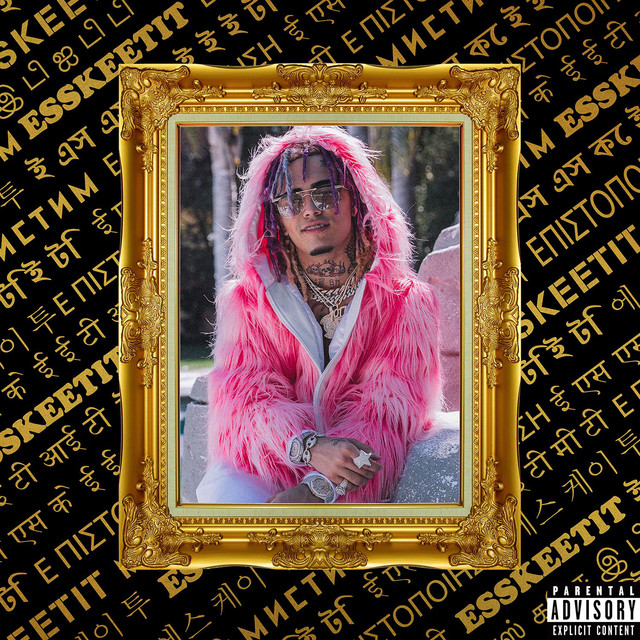
Esskeetit
Lil Pump (2018)

Eloah
Sun Diego (2018)
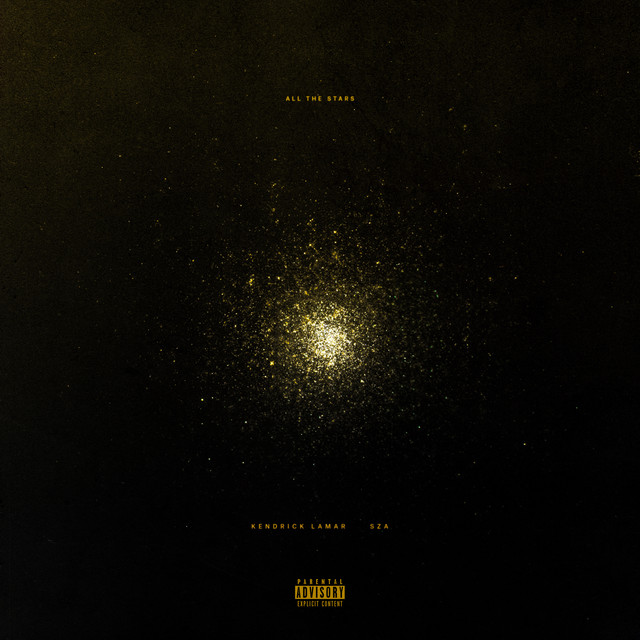
All The Stars (with SZA)
Kendrick Lamar & SZA (2018)
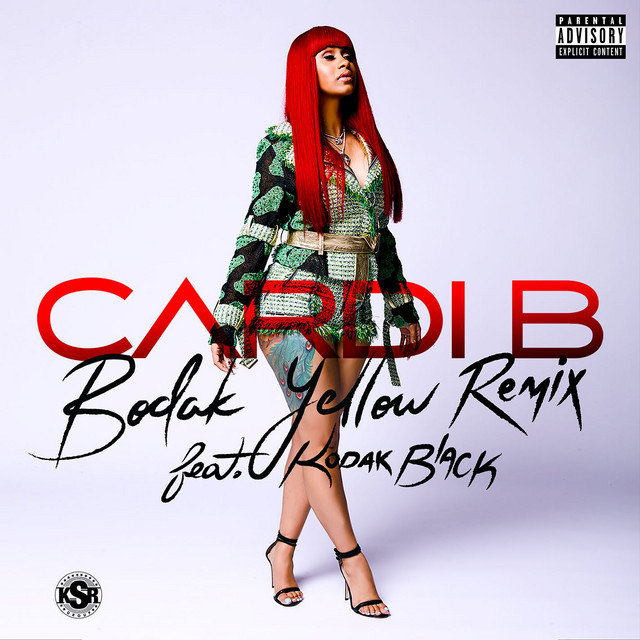
Bodak Yellow (feat. Kodak Black)
Cardi B & Kodak Black (2017)
![Waves Renaissance Compressor Plugin as heard on Bodak Yellow (feat. Messiah) [Latin Trap Remix] by Cardi B (2017)](https://images.equipboard.com/uploads/album/image/658146/bodak-yellow-feat-messiah-latin-trap-remix.jpg)
Bodak Yellow (feat. Messiah) [Latin Trap Remix]
Cardi B (2017)
Alone
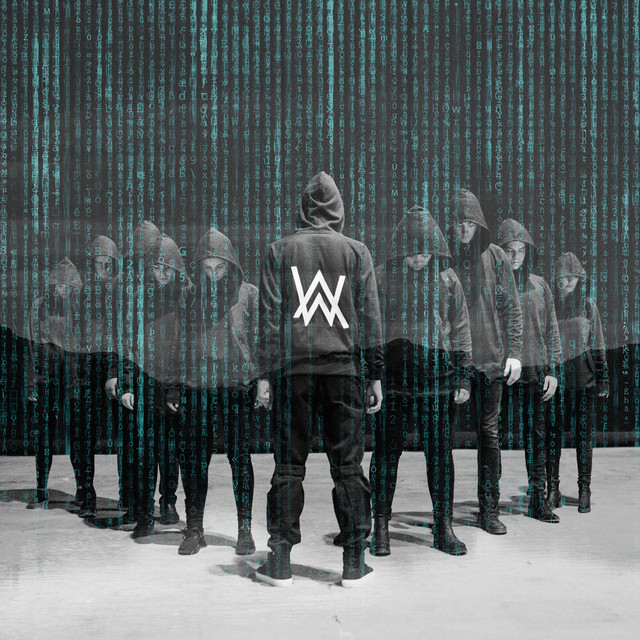
Alan Walker (2016)
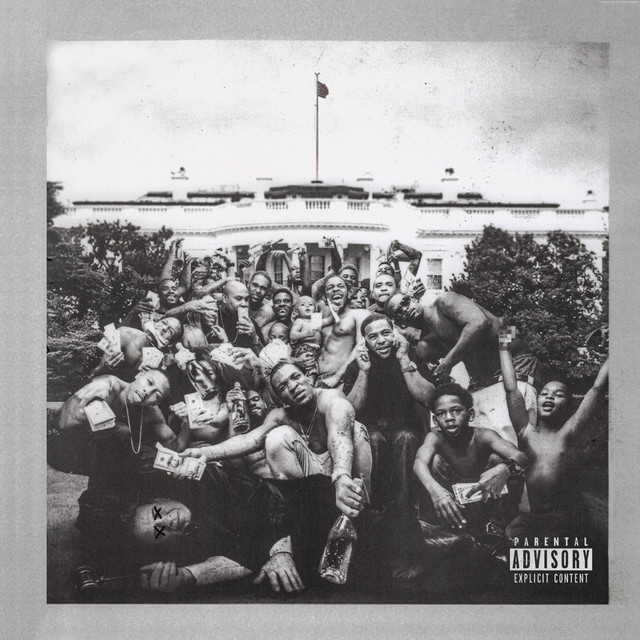
To Pimp A Butterfly
Kendrick Lamar (2015)
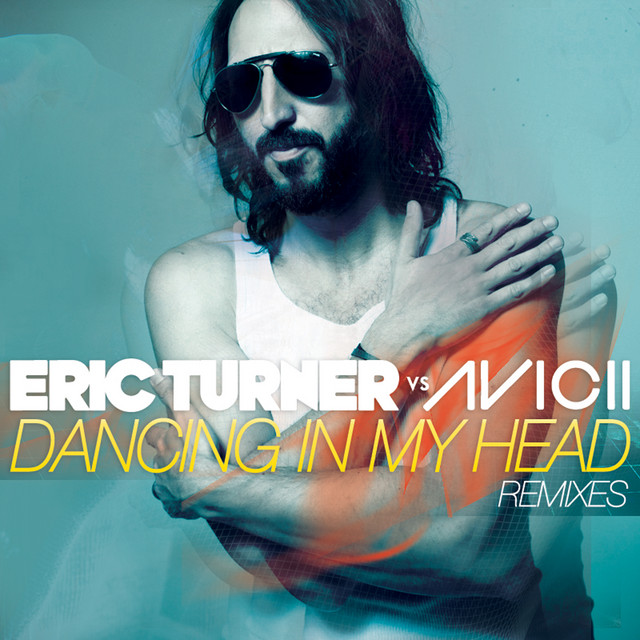
Dancing In My Head
Avicii & Eric Turner (2012)
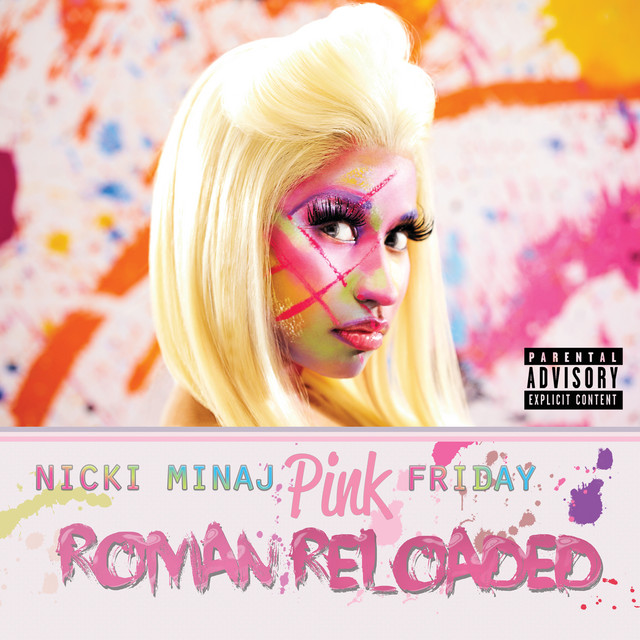
Pink Friday ... Roman Reloaded
Nicki Minaj (2011)
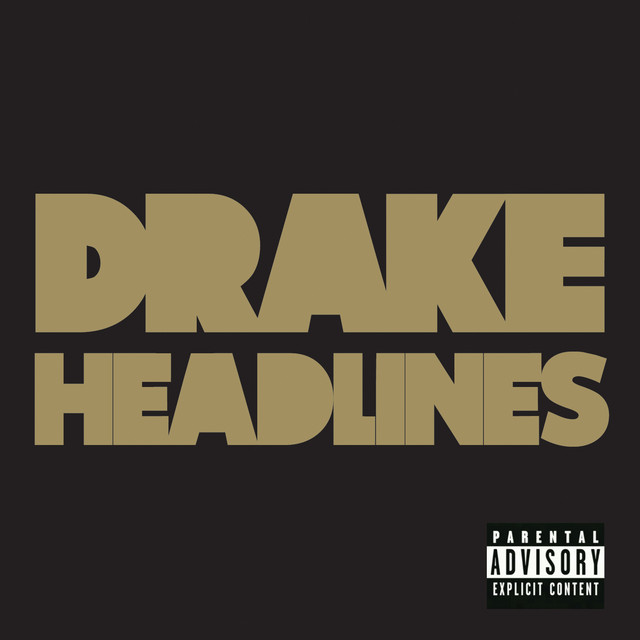
Headlines
Drake (2011)
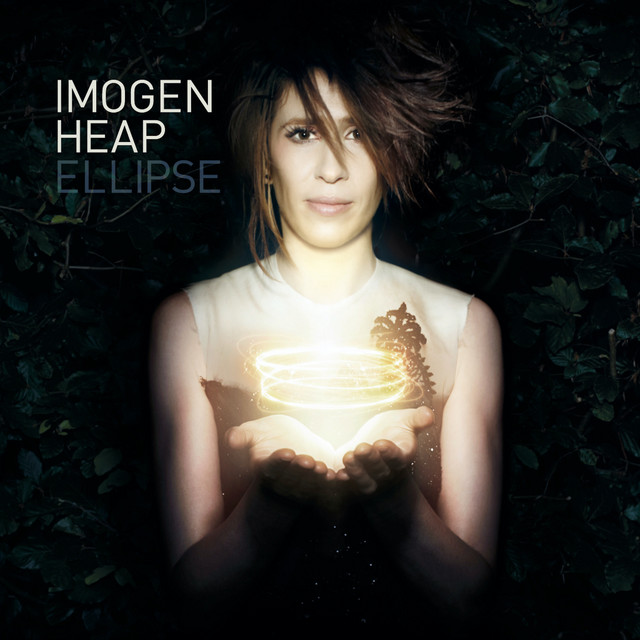
Ellipse (Deluxe Version)
Imogen Heap (2009)

Low (feat. T-Pain)
Flo Rida (2008)
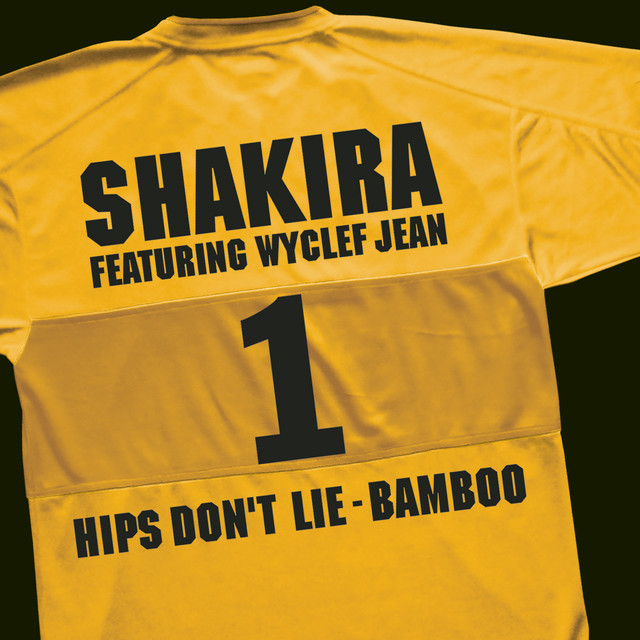
Hips Don't Lie - Bamboo (feat. Wyclef Jean)
Shakira (2006)
Genre Usage
Based on how artists on Equipboard use this gear, it is most commonly found in the following genres.
Used With
Based on how musicians on Equipboard use Waves Renaissance Compressor Plugin, it is most commonly used with the following gear.


-s.webp?v=1783173681)


-s.webp?v=1783173639)
Community setups
Show yours
More Waves Compressor Plugins
-m.webp?v=1783173639)
$33.00 - $39.99
in Compressor Plugins Rank


-m.webp?v=1783173726)
$33.00 - $39.99
in Compressor Plugins Rank


$33.00 - $39.99
in Compressor Plugins Rank


$38.00 - $39.99
in Compressor Plugins Rank


$33.00 - $39.99
in Compressor Plugins Rank


$33.00 - $99.00
in Compressor Plugins Rank


$33.00 - $34.99
in Compressor Plugins Rank

.jpg?v=1783082401)


$33.00 - $39.99
in Compressor Plugins Rank


$33.00 - $34.99
in Compressor Plugins Rank


$33.00 - $39.99
in Compressor Plugins Rank

-m.webp?v=1783173687)
$33.00 - $39.99
in Compressor Plugins Rank


-m.webp?v=1783173736)
$34.99 - $39.99
in Compressor Plugins Rank


$33.00 - $34.99
in Compressor Plugins Rank


$33.00 - $34.99
in Compressor Plugins Rank


$33.00 - $34.99
in Compressor Plugins Rank


$29.99
in Compressor Plugins Rank

$33.00 - $39.99
in Compressor Plugins Rank


$33.00 - $82.50
in Compressor Plugins Rank


$33.00 - $34.99
in Compressor Plugins Rank


$39.99 - $149.00
in Compressor Plugins Rank


$29.00 - $29.99
in Compressor Plugins Rank


$29.99 - $34.99
in Compressor Plugins Rank


$33.00 - $35.99


$39.99 - $199.00


$144.00 - $199.00
in Compressor Plugins Rank


$134.00 - $149.00
in Compressor Plugins Rank


$144.00 - $199.00
in Compressor Plugins Rank

-m.webp?v=1783173632)
$141.00 - $149.00
in Compressor Plugins Rank


$45.00 - $49.00
in Compressor Plugins Rank
.jpeg?v=1783200117)


$39.00 - $1,549.00
in Compressor Plugins Rank


$49.00 - $149.00
in Compressor Plugins Rank


$26.00 - $49.00
in Compressor Plugins Rank


Accessories & Related Items


-s.webp?v=1783173726)


-s.webp?v=1783173736)
-s.webp?v=1783173699)
-s.webp?v=1783173737)


-s.webp?v=1783144077)


Similar
Gear Guides


Most Popular Compressor Plugins
Most Popular Brands
-
Added to Equipboard on by
 odysseyeurobeat
Gear IQ 1709
-